- Empty cart.
- Continue Shopping
How to Build a Bluetooth-Controlled Robot Car Using Arduino (Step-by-Step)
- Posted on
 Deepak Joshi
- 0
- Categories: Arduino Projects

Introduction
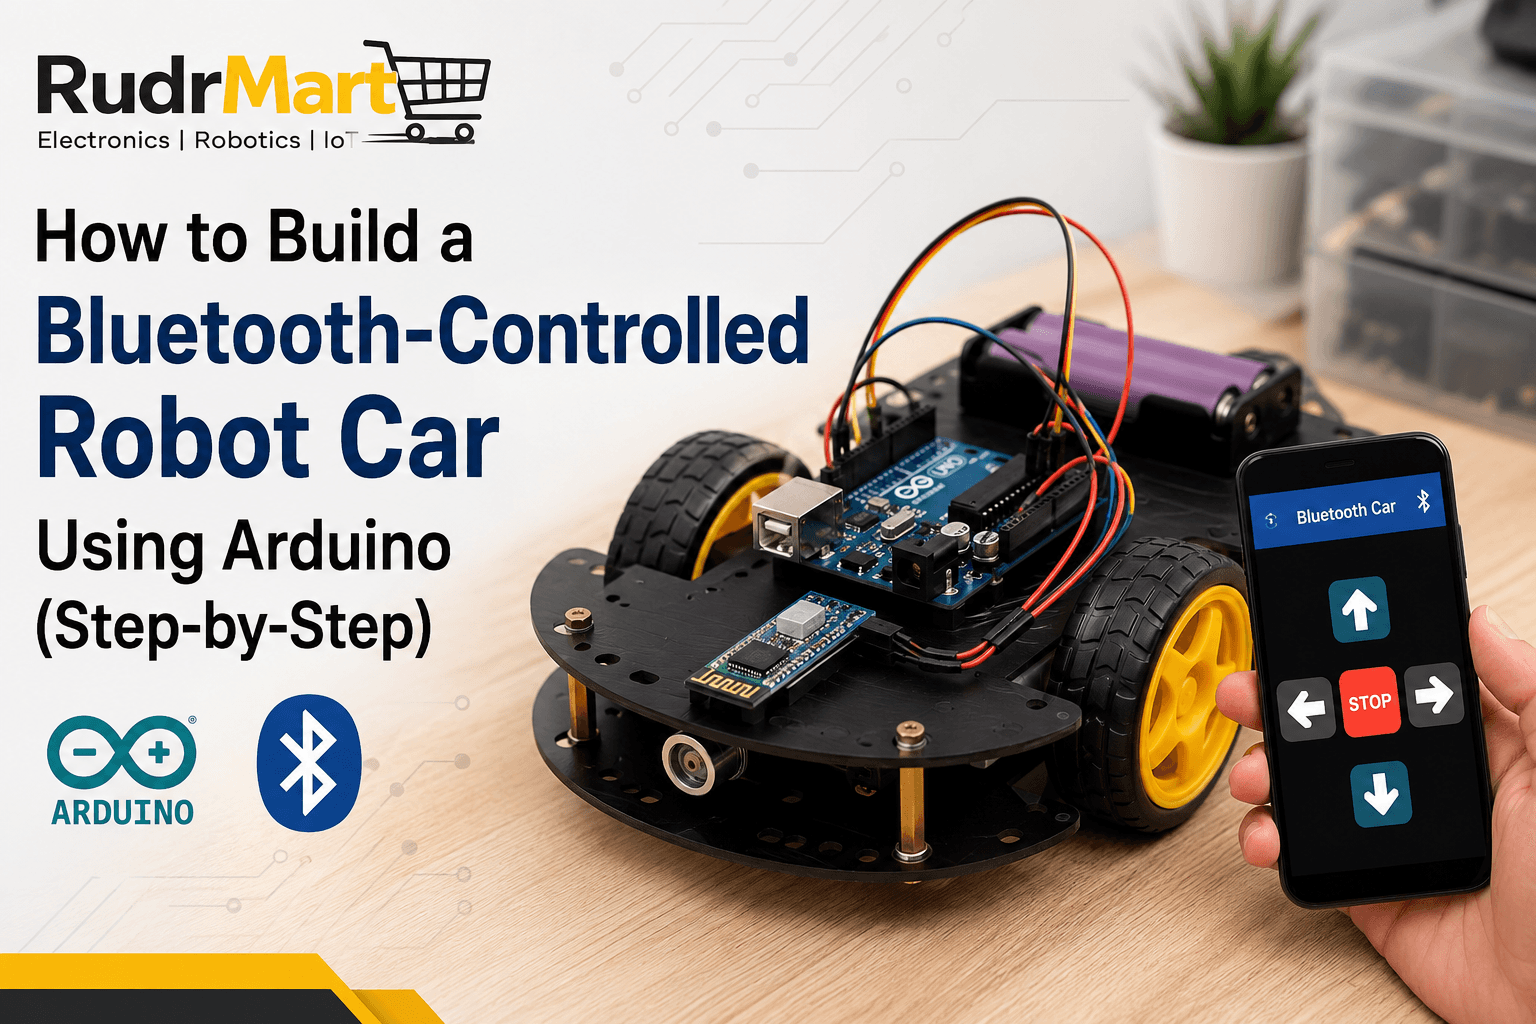
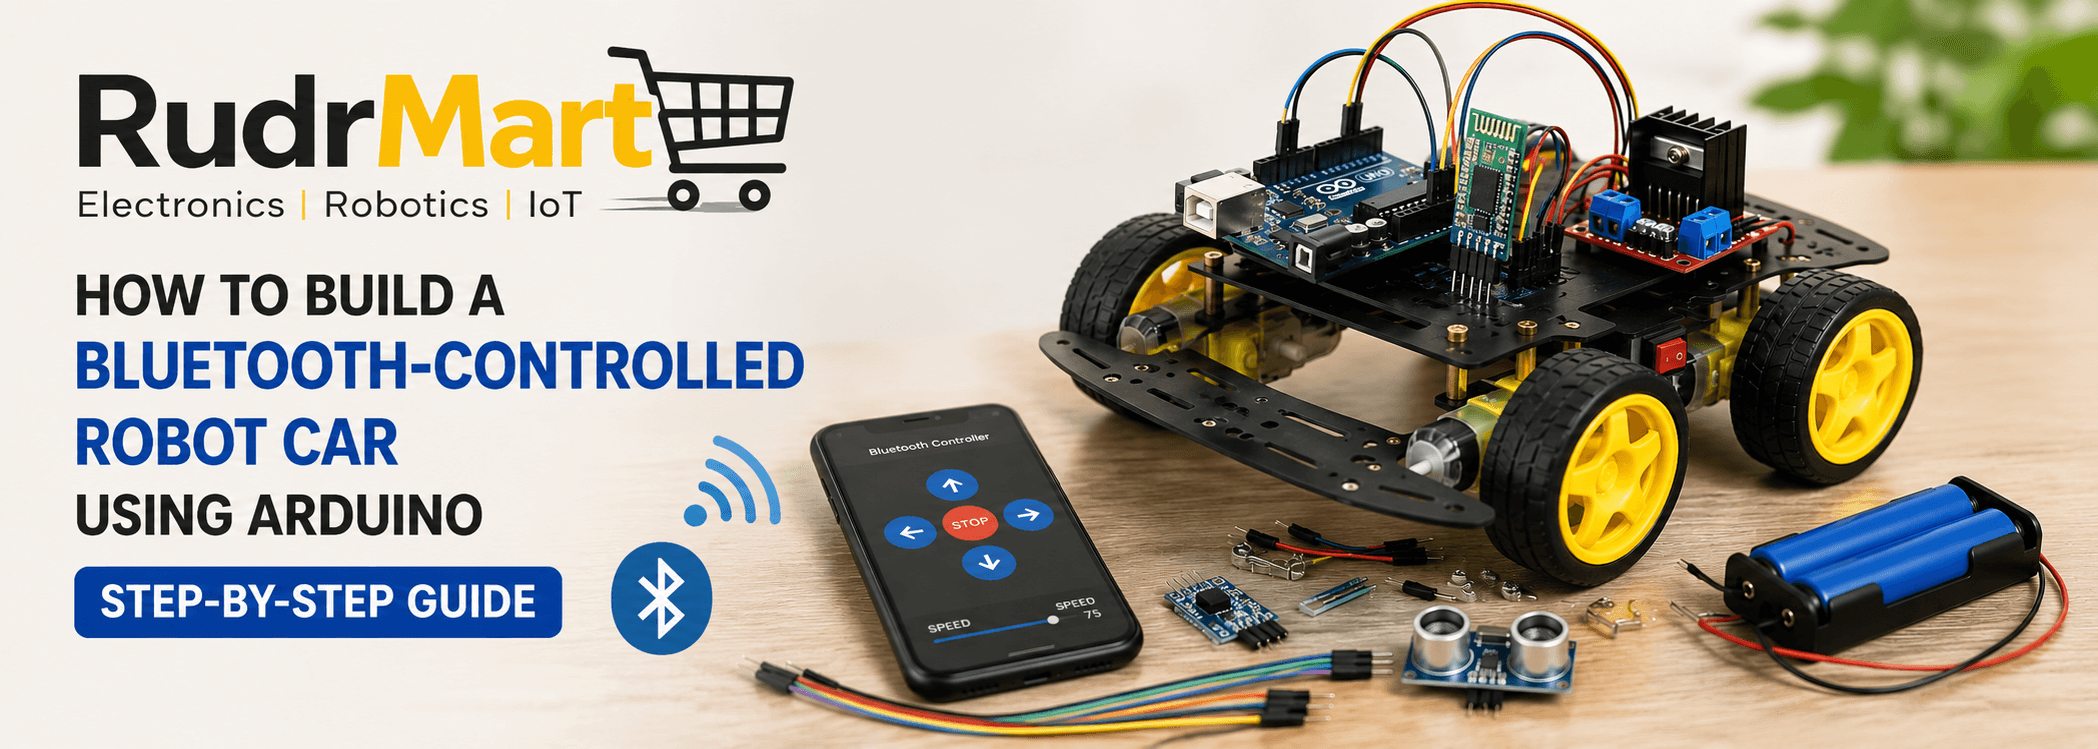
Bluetooth Controlled Robot Car Using Arduino is one of the most popular beginner-friendly robotics projects for students, hobbyists, and electronics enthusiasts. It combines Arduino programming, Bluetooth communication, motor control, and mechanical assembly into a fun hands-on project that can be controlled wirelessly using a smartphone.
In this comprehensive step-by-step guide, you’ll learn how to build your own Bluetooth-controlled robot car, including the required components, circuit connections, Arduino code, assembly process, testing, troubleshooting, and possible upgrades.
Whether you’re working on a school science project, an engineering assignment, or simply exploring robotics, this tutorial will help you build a reliable Bluetooth-controlled robot car from scratch.
A Bluetooth Controlled Robot Car Using Arduino is one of the best beginner robotics projects because it teaches programming, wireless communication, and motor control in a practical way.
What is a Bluetooth-Controlled Robot Car?
A Bluetooth-controlled robot car is a small robotic vehicle that receives commands from a smartphone through Bluetooth communication. The Arduino processes these commands and controls the motors accordingly.
Typical commands include:
- Move Forward
- Move Backward
- Turn Left
- Turn Right
- Stop
Because communication is wireless, the user can operate the robot from several meters away without physical connections.
How Does It Work?
The complete workflow is simple:
- Open a Bluetooth controller app.
- Connect the app to the HC-05 Bluetooth module.
- Press a direction button.
- The Bluetooth module sends data to Arduino.
- Arduino interprets the command.
- Arduino instructs the motor driver.
- The motor driver powers the motors.
- The robot moves accordingly.
Components Required
The following components are required to build a Bluetooth Controlled Robot Car Using Arduino successfully.
| Component | Quantity |
|---|---|
| Arduino Uno | 1 |
| HC-05 Bluetooth Module | 1 |
| L298N Motor Driver Module | 1 |
| Robot Chassis Kit | 1 |
| DC Geared Motors | 4 |
| Wheels | 4 |
| Castor Wheel | 1 |
| 18650 Battery Pack or 7.4V Battery | 1 |
| Battery Holder | 1 |
| Jumper Wires | Several |
| Power Switch | 1 |
| Breadboard (Optional) | 1 |
Tools Required
- Screwdriver
- Wire Cutter
- USB Cable
- Laptop or PC
- Arduino IDE
- Smartphone with Bluetooth
Understanding Each Component
Arduino Uno
The Arduino Uno acts as the brain of the robot. It receives Bluetooth commands and controls the motor driver.
HC-05 Bluetooth Module
The HC-05 creates wireless communication between your smartphone and Arduino.
Typical Range:
- 8–10 meters indoors
- Up to 20 meters outdoors
L298N Motor Driver
Arduino cannot directly drive DC motors because they require more current than the Arduino pins can provide. The L298N motor driver acts as an interface between Arduino and the motors.
Functions:
- Forward
- Reverse
- Left
- Right
- Speed Control using PWM
DC Motors
Geared DC motors provide sufficient torque to move the robot smoothly.
Battery Pack
A rechargeable battery powers both the motors and Arduino.
Recommended:
- 2 × 18650 Lithium Batteries
- 7.4V Rechargeable Battery
Circuit Connections
Correct wiring is essential for a Bluetooth Controlled Robot Car Using Arduino to work reliably.
HC-05 to Arduino
| HC-05 | Arduino |
|---|---|
| VCC | 5V |
| GND | GND |
| TX | Pin 10 |
| RX | Pin 11 (through voltage divider recommended) |
L298N to Arduino
| L298N | Arduino |
|---|---|
| IN1 | Pin 2 |
| IN2 | Pin 3 |
| IN3 | Pin 4 |
| IN4 | Pin 5 |
| ENA | Pin 9 |
| ENB | Pin 6 |
| GND | GND |
Motors
- Left Motors → OUT1 & OUT2
- Right Motors → OUT3 & OUT4
Battery
Battery Positive → L298N 12V Input
Battery Negative → L298N GND
Common Ground with Arduino.
Assemble the Robot Chassis
After assembling the chassis, your Bluetooth Controlled Robot Car Using Arduino is ready for programming.
Follow these steps:
- Fix all motors to the chassis.
- Attach the wheels.
- Install the castor wheel.
- Mount the battery holder.
- Secure the Arduino.
- Mount the motor driver.
- Install the Bluetooth module.
- Arrange all wires neatly using zip ties.
Good cable management improves reliability and makes future maintenance easier.
Install Arduino IDE
Download the latest Arduino IDE.
After installation:
- Connect Arduino Uno.
- Select the correct COM Port.
- Select Arduino Uno board.
Install Required Library
Most Bluetooth robot projects don’t require additional libraries because serial communication is built into Arduino.
If using SoftwareSerial, include:
</> C++
#include <SoftwareSerial.h>Arduino Code Logic
The Arduino sketch controls every movement of the Bluetooth Controlled Robot Car Using Arduino based on commands received from the HC-05 module.
The Arduino waits for Bluetooth commands.
Example:
- F → Forward
- B → Backward
- L → Left
- R → Right
- S → Stop
Each received character activates the corresponding motor movement.
Upload the Code
- Connect Arduino via USB.
- Open Arduino IDE.
- Verify the sketch.
- Upload the code.
- Disconnect USB after successful upload.
Pair the Bluetooth Module
Power the robot.
On Android:
Settings → Bluetooth
Find:
HC-05
Pair using password:
1234or
0000Install a Bluetooth Controller App
Several Android apps support Arduino robot control.
Common features include:
- Direction buttons
- Speed control
- Custom buttons
- Voice commands (in some apps)
Testing the Robot
Before driving your Bluetooth Controlled Robot Car Using Arduino, verify all motor and Bluetooth connections.
After connecting:
Press:
Forward
The robot should move forward.
Repeat for:
- Backward
- Left
- Right
- Stop
If movement is incorrect, swap motor polarity.
How Arduino Controls the Motors
When the Arduino receives a command:
Smartphone
↓

Bluetooth Module
↓

Arduino Uno
↓

Motor Driver
↓

DC Motors
↓

Robot Movement
The process takes only milliseconds, resulting in smooth real-time control.
Adding Speed Control
You can also adjust motor speed using PWM.
Benefits include:
- Smooth acceleration
- Better battery efficiency
- Improved handling
- Less motor wear
Possible Upgrades
Once your robot is working, you can enhance it with additional features.
Some exciting upgrades include:
- Ultrasonic obstacle avoidance
- Line-following sensors
- Voice control
- Wi-Fi control using ESP32
- Camera module
- FPV streaming
- LED headlights
- RGB lighting
- Servo-controlled camera
- Automatic parking mode
These upgrades help transform a simple robot into a more advanced robotics project.
Common Problems and Solutions
| Problem | Possible Cause | Solution |
|---|---|---|
| Bluetooth not connecting | Wrong PIN | Use 1234 or 0000 |
| Robot not moving | Loose wiring | Check all connections |
| Motors rotate incorrectly | Reverse polarity | Swap motor wires |
| Arduino restarts | Weak battery | Use a fully charged battery |
| Motors move slowly | Low voltage | Use recommended battery |
| Bluetooth disconnects | Low battery | Recharge battery |
| One wheel doesn’t move | Faulty motor | Test motor individually |
Safety Tips
- Never short the battery terminals.
- Switch off power before changing connections.
- Avoid overloading the motors.
- Keep wiring insulated.
- Use quality batteries.
- Secure loose wires to prevent damage.
Applications
A Bluetooth-controlled robot car has many practical uses:
- Robotics learning
- Arduino practice
- Engineering projects
- STEM education
- School science exhibitions
- College competitions
- Prototype development
- IoT experimentation
- Automation research
Advantages
A Bluetooth Controlled Robot Car Using Arduino is affordable, easy to build, and can be upgraded with sensors, cameras, and IoT features.
- Beginner-friendly
- Affordable components
- Wireless operation
- Easy programming
- Expandable design
- Great educational project
- Reusable hardware
- Supports multiple upgrades
Why Buy Components from RudrMart?
At RudrMart, you’ll find a wide selection of Arduino boards, Bluetooth modules, motor drivers, robot chassis kits, DC motors, sensors, batteries, jumper wires, and robotics accessories. Whether you’re a beginner or an experienced maker, sourcing compatible, quality-tested components from one place makes building your Bluetooth-controlled robot car easier and more reliable.
Conclusion
Building a Bluetooth Controlled Robot Car Using Arduino is an excellent way to learn robotics, embedded systems, and wireless communication. Once your Bluetooth Controlled Robot Car Using Arduino is complete, you can enhance it with obstacle avoidance, line following, voice control, or ESP32-based Wi-Fi connectivity.
Once you’ve mastered the basics, you can expand the project with features such as obstacle avoidance, line following, voice control, or IoT connectivity. Whether you’re a student, hobbyist, or robotics enthusiast, this project is a rewarding step into the world of embedded systems.
Frequently Asked Questions (FAQs)
1. Which Arduino board is best for this project?
Arduino Uno is the most popular choice because it is beginner-friendly, well-documented, and compatible with the HC-05 Bluetooth module.
2. Can I use an HC-06 instead of an HC-05?
Yes. The HC-06 also works for Bluetooth communication, but it supports only slave mode, while the HC-05 can operate as both master and slave.
3. Can I control the robot with an iPhone?
The standard HC-05 uses Bluetooth Classic, which is generally not supported by iPhones for custom serial communication. For iOS compatibility, consider using a Bluetooth Low Energy (BLE) module such as the HM-10.
4. What is the Bluetooth range?
The typical indoor range is about 8–10 meters, while outdoor range can reach up to 20 meters without significant obstacles.
5. Which battery should I use?
A 7.4V rechargeable battery pack or two 18650 lithium-ion cells in series are commonly used to provide sufficient power for the motors and Arduino.
6. Can I add obstacle avoidance later?
Yes. You can easily integrate an ultrasonic sensor (such as the HC-SR04) to enable automatic obstacle detection and avoidance.
7. Can beginners build a Bluetooth Controlled Robot Car Using Arduino?
Yes. A Bluetooth Controlled Robot Car Using Arduino is one of the easiest robotics projects for beginners because it requires only basic electronics and Arduino programming knowledge.
Arduino car with smartphoneArduino UNO projectBeginner Arduino projectBluetooth robot projectDC motor ArduinoEngineering projectHC-05 Bluetooth ModuleL298N Motor DriverMobile controlled robot carObstacle free robot carRemote Controlled CarRudr MartSTEM Project