- Empty cart.
- Continue Shopping
16×2 LCD Display with Arduino: Complete Beginner’s Guide (with I2C Module)
- Posted on
 Deepak Joshi
- 0
- Categories: Arduino Tutorial

Introduction
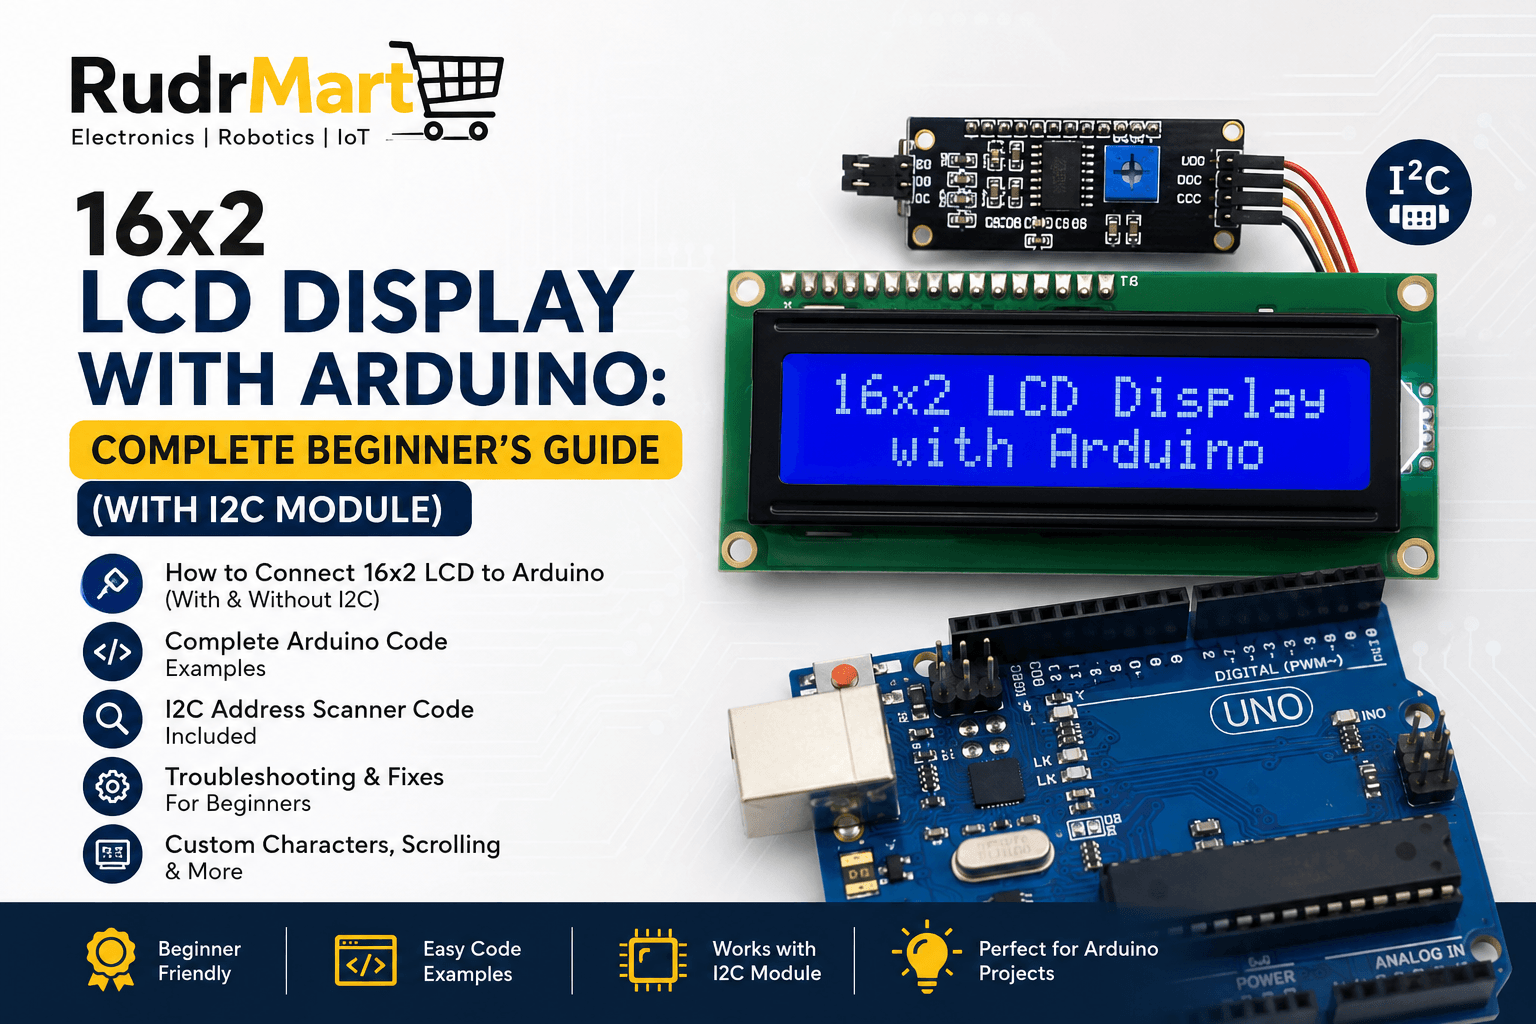
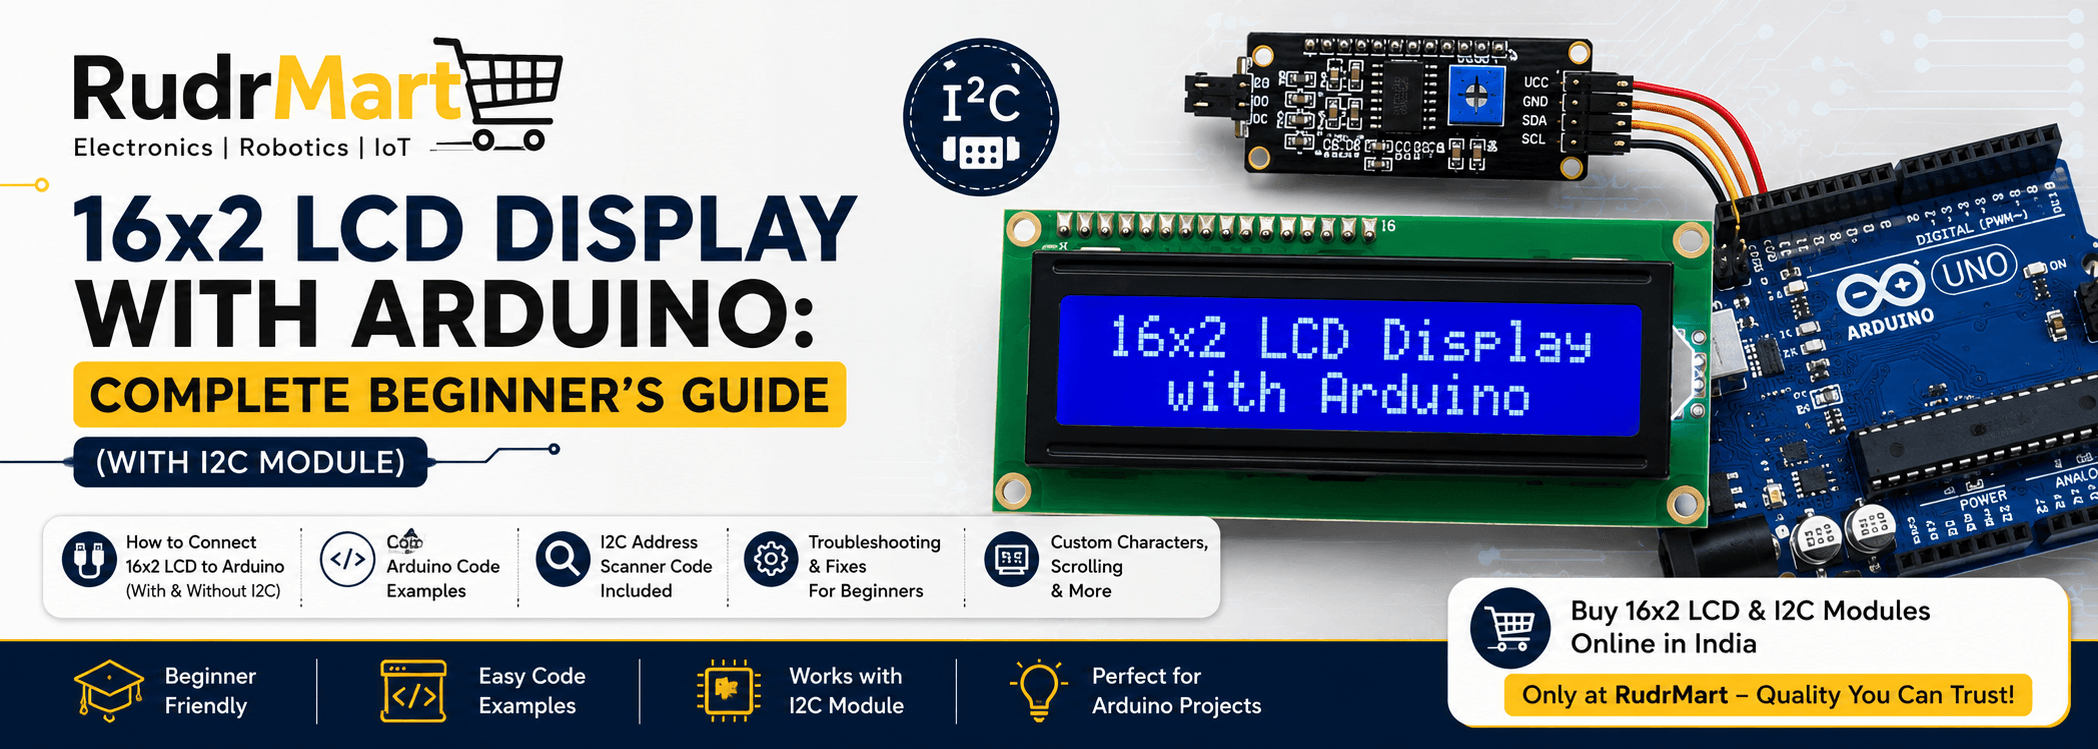
This guide on 16×2 LCD Display with Arduino will help beginners understand wiring, coding, troubleshooting, and real-world applications using both standard and I2C connections.
If you’re starting with Arduino electronics, learning to use a 16×2 LCD display with Arduino is one of the most useful skills you can develop. Whether you’re building a weather station, RFID access system, smart irrigation project, or distance measurement device, an LCD display helps you show real-time information clearly.
In this comprehensive Arduino LCD tutorial, you’ll learn:
- What a 16×2 LCD is
- LCD pinout explained
- Wiring with and without I2C
- Complete Arduino code
- LiquidCrystal_I2C library usage
- Troubleshooting common issues
- Custom characters
- Scrolling text
- Buyer guide
Let’s get started.
What is a 16×2 LCD Display?
A 16×2 LCD display is an alphanumeric display capable of showing:
- 16 characters per line
- 2 lines
- Total 32 visible characters
It is one of the most popular display modules used in Arduino projects because it is:
- Affordable
- Easy to program
- Low power
- Beginner friendly
- Available with or without an I2C module
This LCD display Arduino combination is ideal for displaying:
- Sensor values
- Temperature
- Humidity
- Distance
- Menu systems
- Status messages
- Password prompts
A 16×2 LCD Display with Arduino is widely used in electronics projects because it provides a simple and cost-effective way to display sensor values, menus, and system status.
Why Use an I2C LCD Arduino Module?
A normal LCD requires many Arduino pins.
Adding an I2C module Arduino adapter reduces the wiring dramatically.
Without I2C:
- 6–10 Arduino pins
With I2C:
- Only 4 wires
Advantages:
- Cleaner wiring
- Easier breadboard setup
- Saves GPIO pins
- Faster project development
- Ideal for beginners
This is why most makers prefer an I2C LCD Arduino setup.
Using a 16×2 LCD Display with Arduino and an I2C module reduces wiring complexity and makes your projects cleaner and easier to build.
16×2 LCD Pinout Diagram Explained
The standard LCD has 16 pins.
| Pin | Name | Function |
|---|---|---|
| 1 | VSS | Ground |
| 2 | VCC | 5V |
| 3 | VO | Contrast |
| 4 | RS | Register Select |
| 5 | RW | Read/Write |
| 6 | EN | Enable |
| 7–14 | D0–D7 | Data Pins |
| 15 | LED+ | Backlight Positive |
| 16 | LED- | Backlight Ground |
This 16×2 LCD pinout diagram explained section helps beginners understand every connection before wiring the display.
Components Required
- Arduino UNO/Nano
- 16×2 LCD Module
- I2C Backpack Module (optional)
- Breadboard
- Jumper Wires
- USB Cable
How to Connect 16×2 LCD to Arduino (Without I2C)
Many beginners first learn how to connect 16×2 LCD to Arduino without using an I2C adapter.
Typical wiring:
| LCD | Arduino |
| VSS | GND |
| VCC | 5V |
| VO | 10K Potentiometer |
| RS | Pin 12 |
| EN | Pin 11 |
| D4 | Pin 5 |
| D5 | Pin 4 |
| D6 | Pin 3 |
| D7 | Pin 2 |
| LED+ | 5V |
| LED- | GND |
This setup uses the LiquidCrystal library.
Arduino LCD Display Without I2C Wiring
The biggest drawback of Arduino LCD display without I2C wiring is the large number of jumper wires.
Pros
- Learn LCD fundamentals
- Full pin control
- No extra hardware
Cons
- Complex wiring
- More chances of loose connections
- Uses many GPIO pins
How to Connect I2C LCD Arduino
The easiest wiring method.
| I2C Module | Arduino UNO |
| VCC | 5V |
| GND | GND |
| SDA | A4 |
| SCL | A5 |
Only four wires are needed.
Installing the LiquidCrystal_I2C Library
Before uploading code:
- Open Arduino IDE
- Sketch → Include Library
- Manage Libraries
- Search:
LiquidCrystal_I2CInstall the latest version.
The LiquidCrystal_I2C library Arduino example below demonstrates basic LCD usage.
16×2 LCD with I2C Module Arduino Code
#include <Wire.h>
#include <LiquidCrystal_I2C.h>

LiquidCrystal_I2C lcd(0x27,16,2);

void setup()

{
lcd.init();
lcd.backlight();

lcd.setCursor(0,0);
lcd.print("Hello World");

lcd.setCursor(0,1);
lcd.print("Arduino LCD");
}

void loop()
{

}
This simple 16×2 LCD with I2C module Arduino code prints text on both rows of the display.
This 16×2 LCD Display with Arduino example can be easily modified to display temperature, humidity, distance, voltage, or other sensor readings.
I2C Address Scanner Arduino Code
Sometimes your LCD shows nothing because the I2C address is different.
Run this I2C address scanner Arduino code.
#include <Wire.h>

void setup()
{
Wire.begin();
Serial.begin(9600);

Serial.println("Scanning...");

for(byte address=1; address<127; address++)
{
Wire.beginTransmission(address);

if(Wire.endTransmission()==0)
{
Serial.print("Found: 0x");
Serial.println(address,HEX);
}
}
}

void loop()
{

}
Most LCD modules use:
- 0x27
- 0x3F
Display Sensor Data on LCD Arduino
One of the most common uses is how to display sensor data on LCD Arduino.
Examples include:
- Temperature
- Humidity
- Soil Moisture
- Water Level
- Gas Sensors
- Ultrasonic Distance
- Voltage
You can also display live distance readings from an HC-SR04 ultrasonic sensor, making your distance measurement projects more user-friendly.
Similarly, you can show temperature and humidity on screen in a weather monitoring project using DHT11 or DHT22 sensors.
Arduino LCD Custom Characters Tutorial
Did you know you can create your own symbols?
This Arduino LCD custom characters tutorial lets you display:
- Battery icon
- Heart
- Bell
- Arrow
- WiFi signal
- Degree symbol
Custom characters make projects look far more professional.
Arduino LCD Scrolling Text Code
Need long messages?
Use the built-in scrolling feature.
lcd.scrollDisplayLeft();or
lcd.scrollDisplayRight();This Arduino LCD scrolling text code is perfect for announcements, welcome messages, and menus.
16×2 LCD 4-Bit vs 8-Bit Mode Arduino
Most Arduino projects use 4-bit mode.
| Feature | 4-Bit | 8-Bit |
| Pins Used | 6 | 10 |
| Speed | Good | Faster |
| Complexity | Low | Higher |
| Recommended | ✔ Yes | Only for advanced users |
For beginners, 4-bit mode is the preferred option because it reduces wiring while maintaining excellent performance.
Arduino LCD Display Not Working Fix
If your display doesn’t show anything, try these fixes.
Check Power
Ensure:
- VCC = 5V
- GND connected properly
Adjust Contrast
Rotate the potentiometer.
Many beginners forget this step.
Check I2C Address
Use the scanner code above.
Verify Library
Install:
- Wire
- LiquidCrystal
- LiquidCrystal_I2C
Loose Wiring
Reconnect every jumper.
Backlight Only?
If only the backlight turns on:
- Wrong address
- Incorrect wiring
- Contrast issue
These are the most common Arduino LCD display not working fix solutions.
Project Ideas Using LCD Display Arduino
Here are some fun Arduino display project ideas:
- Digital Thermometer
- Digital Clock
- Visitor Counter
- Password Lock
- RFID Door Lock
- Smart Irrigation
- Distance Meter
- Water Tank Monitor
- Home Automation
You can also display access granted/denied message in an RFID door lock project for a professional-looking access control system.
Applications of LCD Module Arduino
A LCD module Arduino setup is commonly used in:
- Smart Home Systems
- Robotics
- Industrial Automation
- Weather Stations
- Medical Equipment
- Educational Kits
- IoT Projects
- Agriculture Monitoring
Where to Buy LCD Modules in India?
Looking for reliable components?
You can buy 16×2 LCD display India from trusted electronics suppliers.
If you’re searching for:
- I2C LCD module price
- LCD display for Arduino projects online
- Arduino LCD module RudrMart
Choose suppliers that offer:
- Original quality modules
- Fast shipping
- Technical support
- Affordable pricing
- Bulk purchase options
Conclusion
Learning to use a 16×2 LCD display with Arduino is an essential step for every Arduino enthusiast. Whether you choose traditional wiring or an I2C LCD Arduino module, understanding the pinout, wiring methods, libraries, and troubleshooting techniques will help you build better electronics projects.
By mastering concepts like the LiquidCrystal_I2C library Arduino example, I2C address scanner Arduino code, Arduino LCD scrolling text code, and Arduino LCD custom characters tutorial, you’ll be able to create interactive and professional-looking Arduino applications.
By learning how to use a 16×2 LCD Display with Arduino, you can build interactive electronics projects with professional-looking displays. Whether you’re using an I2C adapter or direct wiring, mastering the 16×2 LCD Display with Arduino will help you create smarter and more user-friendly Arduino projects.
If you’re ready to start building, choose a quality LCD module, follow this guide step by step, and bring your Arduino projects to life with clear and dynamic visual feedback.
Frequently Asked Questions
1. What is I2C module used for in LCD?
The I2C module converts the LCD interface into a two-wire communication system, reducing wiring complexity and saving Arduino pins.
2. Why use I2C with LCD display?
Using I2C simplifies wiring, makes projects neater, and frees up GPIO pins for additional sensors and modules.
3. How many pins does 16×2 LCD have?
A standard 16×2 LCD has 16 pins, including power, control, data, and backlight connections.
4. Can we connect LCD directly to Arduino without I2C?
Yes. You can connect the LCD directly using 4-bit or 8-bit mode. However, it requires more wires compared to using an I2C module.
16x2 LCD DisplayArduinoArduino CodingArduino ProgrammingArduino ProjectsDisplay ModuleDIY ElectronicsEmbedded SystemsI2C LCDLCD DisplayLiquidCrystal_I2CMicrocontrollerrudrmartSensor Display