
- Empty cart.
- Continue Shopping
DHT11/DHT22 Temperature & Humidity Sensor with Arduino: Complete Guide (2026)
- Posted on
 Deepak Joshi
- 0
- Categories: Arduino Tutorial

Introduction
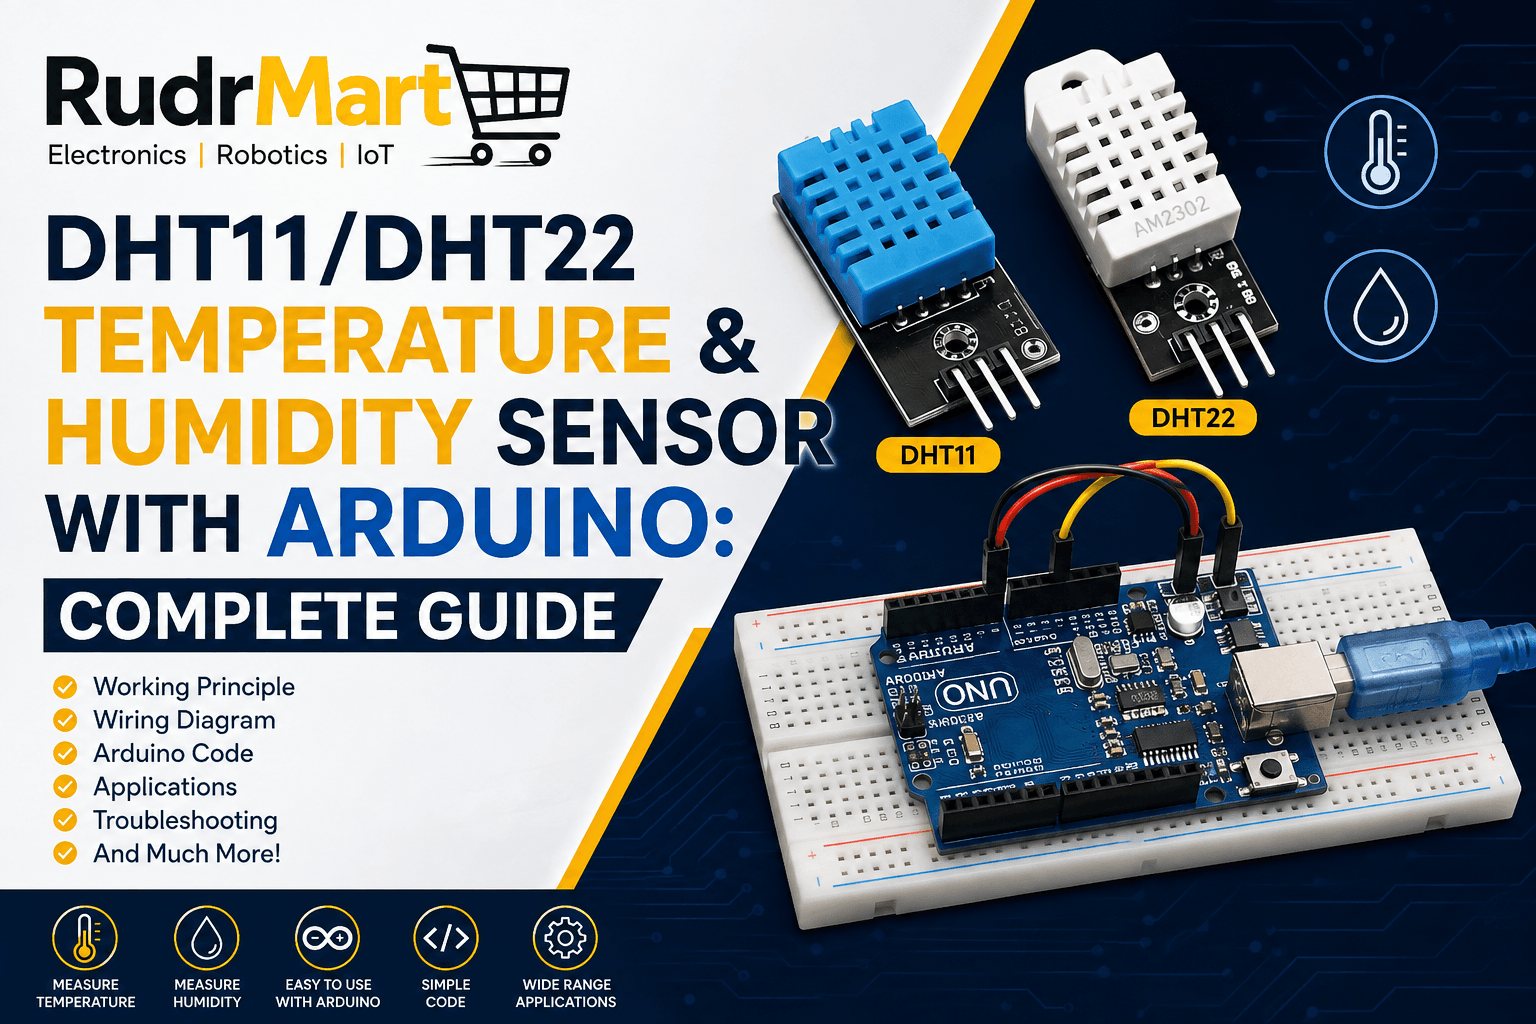
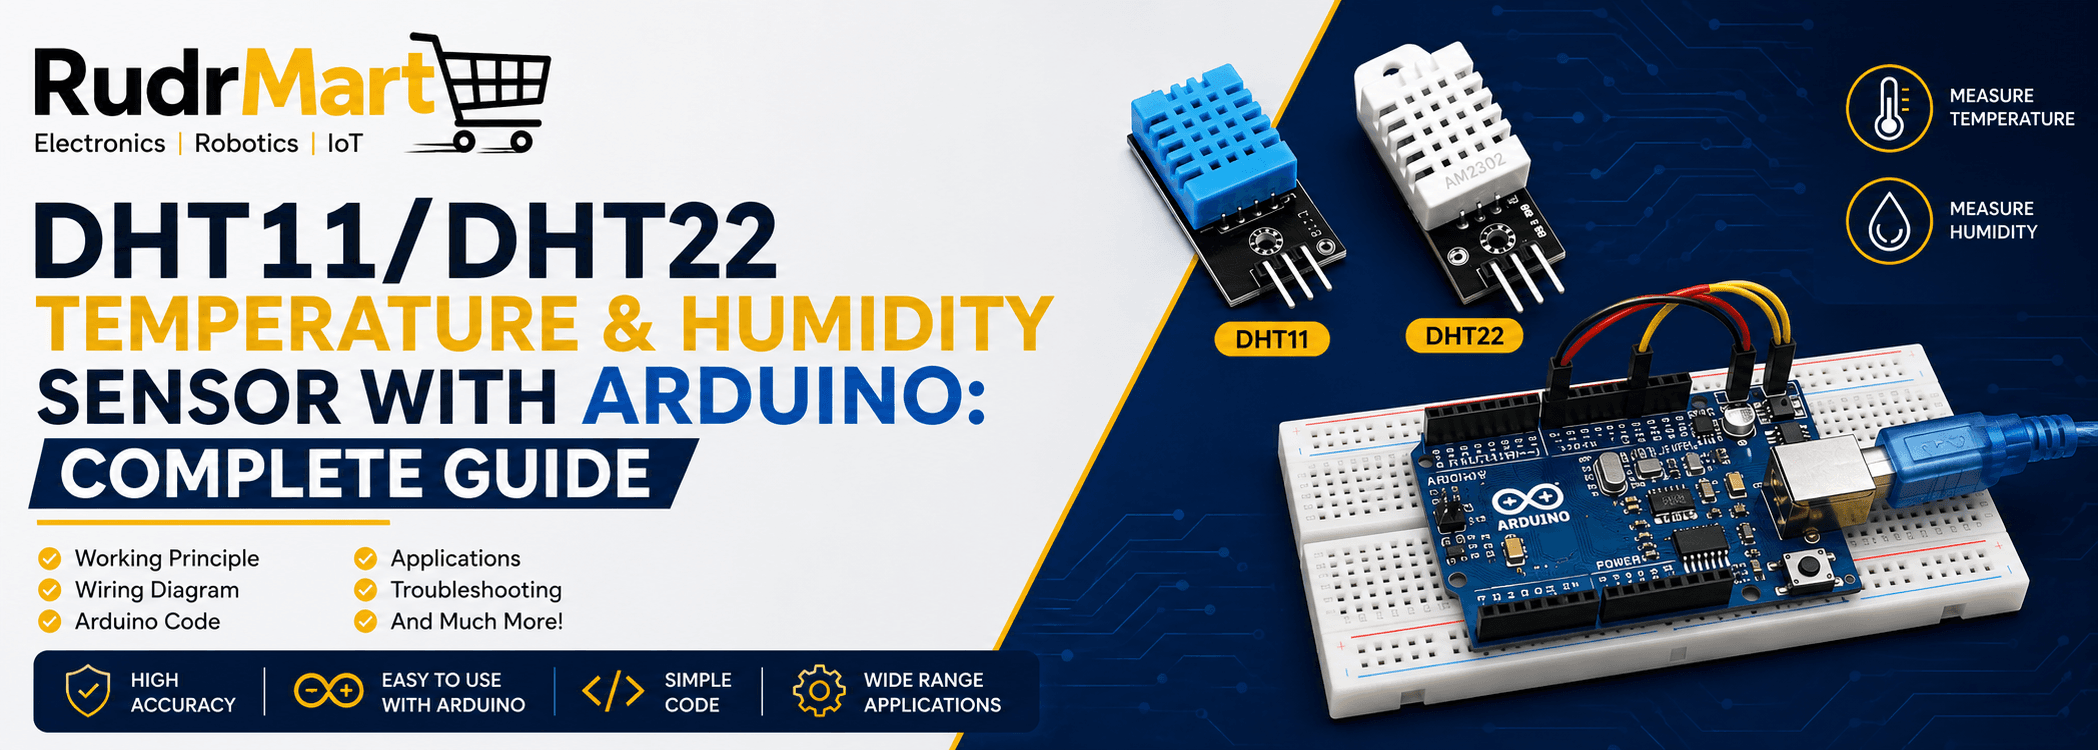
The DHT11 DHT22 Temperature Humidity Sensor with Arduino is one of the most popular setups for tracking environmental conditions in IoT and robotics projects.
In this comprehensive guide, you’ll learn everything about the DHT11 and DHT22 Temperature & Humidity Sensors, including specifications, differences, pin configuration, wiring, Arduino programming, practical applications, troubleshooting, and FAQs.
What is a DHT11/DHT22 Temperature & Humidity Sensor?
The DHT11 and DHT22 (AM2302) are digital sensors that measure:
- Temperature
- Relative Humidity
Unlike analog sensors, they provide calibrated digital output, making them easy to interface with Arduino, ESP8266, ESP32, Raspberry Pi, and other microcontrollers.
Inside the module, the sensor contains:
- Capacitive humidity sensing element
- NTC temperature sensor
- 8-bit microcontroller for signal processing
Both sensors communicate using a single-wire digital protocol, requiring only one GPIO pin.
DHT11 vs DHT22
| Feature | DHT11 | DHT22 |
|---|---|---|
| Temperature Range | 0°C to 50°C | -40°C to 80°C |
| Temperature Accuracy | ±2°C | ±0.5°C |
| Humidity Range | 20–80% RH | 0–100% RH |
| Humidity Accuracy | ±5% RH | ±2–3% RH |
| Operating Voltage | 3.3V–5V | 3.3V–6V |
| Sampling Rate | 1 Reading/sec | 0.5 Reading/sec |
| Cost | Low | Higher |
| Suitable For | Basic Projects | Professional Projects |
Choose DHT11 if:
- Learning Arduino
- School projects
- Indoor monitoring
- Low-cost systems
Choose DHT22 if:
- Industrial monitoring
- Greenhouses
- Weather stations
- Precision measurement
- Professional IoT devices
DHT11/DHT22 Pin Configuration
Most modules have 3 pins.
| Pin | Function |
|---|---|
| VCC | 3.3V–5V Power |
| DATA | Digital Output |
| GND | Ground |
Some bare sensors have 4 pins where one pin remains unused.
Required Components
Before building your DHT11 DHT22 Temperature Humidity Sensor with Arduino project, gather these components.
- Arduino UNO/Nano
- DHT11 or DHT22 Sensor
- Breadboard
- Jumper Wires
- USB Cable
Optional:
- LCD Display
- OLED Display
- ESP8266
- ESP32
- Relay Module
Circuit Diagram
Connections
| DHT Sensor | Arduino UNO |
|---|---|
| VCC | 5V |
| DATA | Digital Pin 2 |
| GND | GND |
If you’re using the bare sensor (without PCB module), connect a 10K pull-up resistor between DATA and VCC.
Installing the DHT Library
Open Arduino IDE.
Go to:
Sketch → Include Library → Manage Libraries
Search for:
DHT sensor library by Adafruit
Install:
- DHT Sensor Library
- Adafruit Unified Sensor
Arduino Code for DHT11
Upload the following code to complete your DHT11 DHT22 Temperature Humidity Sensor with Arduino setup.
include “DHT.h”
define DHTPIN 2
define DHTTYPE DHT11
DHT dht(DHTPIN, DHTTYPE);
void setup()
{
Serial.begin(9600);
dht.begin();
}
void loop()
{
float humidity = dht.readHumidity();
float temperature = dht.readTemperature();
if (isnan(humidity) || isnan(temperature))
{
Serial.println(“Sensor Error!”);
return;
}
Serial.print(“Temperature: “);
Serial.print(temperature);
Serial.print(” °C”);
Serial.print(” Humidity: “);
Serial.print(humidity);
Serial.println(“%”);
delay(2000);
}
Arduino Code for DHT22
Only change one line:
#define DHTTYPE DHT22Everything else remains exactly the same.
Output
The Serial Monitor displays:
Temperature: 28.4 °C
Humidity: 61.2%
Updated every 2 seconds.
Understanding the Code
Initialize Library
#include "DHT.h"Loads the sensor library.
Define Pin
#define DHTPIN 2Sensor connected to Digital Pin 2.
Select Sensor Type
#define DHTTYPE DHT11or
#define DHTTYPE DHT22Read Humidity
float humidity = dht.readHumidity();Returns humidity percentage.
Read Temperature
float temperature = dht.readTemperature();Returns temperature in Celsius.
Check Sensor Error
isnan()Detects failed sensor readings.
Applications
The DHT sensors are widely used in:
- Smart Home Automation
- IoT Weather Stations
- Greenhouse Monitoring
- Server Room Monitoring
- HVAC Systems
- Warehouse Monitoring
- Cold Storage
- Air Quality Projects
- Agriculture Automation
- Home Automation Systems
- Data Logging Projects
- Industrial Environmental Monitoring
Advantages
✔ Very low cost
✔ Easy Arduino interface
✔ Digital output
✔ Factory calibrated
✔ Good reliability
✔ Requires only one data pin
✔ Low power consumption
Limitations
DHT11
- Lower accuracy
- Limited humidity range
- Limited temperature range
DHT22
- Slower sampling rate
- More expensive
DHT11 Specifications
| Parameter | Value |
|---|---|
| Voltage | 3.3V–5V |
| Current | 0.3mA |
| Humidity Range | 20–80% RH |
| Temperature Range | 0–50°C |
| Humidity Accuracy | ±5% RH |
| Temperature Accuracy | ±2°C |
| Resolution | 1°C |
| Sampling Rate | 1 Hz |
DHT22 Specifications
| Parameter | Value |
|---|---|
| Voltage | 3.3V–6V |
| Current | 1mA |
| Humidity Range | 0–100% RH |
| Temperature Range | -40°C to 80°C |
| Humidity Accuracy | ±2–3% RH |
| Temperature Accuracy | ±0.5°C |
| Resolution | 0.1°C |
| Sampling Rate | 0.5 Hz |
Common Errors & Troubleshooting
1. Sensor Not Detected
Possible causes:
- Loose wiring
- Wrong pin selection
- Incorrect sensor type
- Faulty sensor
2. “Failed to Read from DHT Sensor”
Check:
- VCC connection
- GND connection
- Data pin
- Pull-up resistor (if required)
3. Random Readings
Possible reasons:
- Long wires
- Electrical noise
- Poor power supply
- Sampling too frequently
4. NAN Values
Usually caused by:
- Wrong DHT library
- Wrong sensor type
- Faulty wiring
Best Practices
- Wait at least 2 seconds between readings.
- Keep wires short for reliable communication.
- Avoid placing the sensor near heat sources.
- Ensure proper ventilation around the sensor.
- Use the correct sensor type (
DHT11orDHT22) in the code. - For outdoor projects, use a protective enclosure that allows airflow while shielding the sensor from direct sunlight and rain.
Real-World Projects
- IoT Weather Station
- Smart Greenhouse
- Automatic Fan Controller
- Smart Air Conditioner
- Home Weather Display
- Baby Room Monitor
- Cold Storage Monitoring
- Smart Agriculture System
- Environmental Data Logger
- Office Climate Monitoring
Conclusion
The DHT11 and DHT22 Temperature & Humidity Sensors are excellent choices for Arduino and IoT enthusiasts. The DHT11 is ideal for learning and basic indoor monitoring, while the DHT22 delivers greater precision and a wider measurement range for more demanding applications. With simple wiring, an easy-to-use library, and reliable digital output, these sensors are perfect for weather stations, smart homes, greenhouses, and countless automation projects.
Whether you’re a beginner building your first Arduino project or an experienced maker creating advanced IoT systems, mastering the DHT11/DHT22 sensor is an essential step toward accurate environmental monitoring.
Mastering the DHT11 DHT22 Temperature Humidity Sensor with Arduino is an essential step toward building reliable environmental projects.
Frequently Asked Questions (FAQs)
1. Which is better: DHT11 or DHT22?
The DHT22 is generally the better choice because it offers higher accuracy, a wider temperature range, and full humidity measurement (0–100% RH). DHT11 is suitable for beginners and budget-friendly projects.
2. Can DHT11 work with ESP32?
Yes. The DHT11 is compatible with ESP32, ESP8266, Arduino UNO, Nano, Mega, Raspberry Pi, and many other development boards.
3. Can I power the sensor with 3.3V?
Yes. Both DHT11 and DHT22 support 3.3V operation, making them suitable for modern IoT boards.
4. How often can I read the sensor?
- DHT11: Once every second
- DHT22: Once every two seconds (0.5 Hz)
Reading the sensor more frequently may result in invalid data.
5. Does the DHT sensor require calibration?
No. Both sensors are factory calibrated and provide digital output directly.
ArduinoArduino ProjectsArduino SensorsDHT11DHT22ElectronicsEmbedded Systemsenvironmental monitoringESP32ESP8266IoTRudr MartSensor TutorialTemperature Sensorweather station