
- Empty cart.
- Continue Shopping
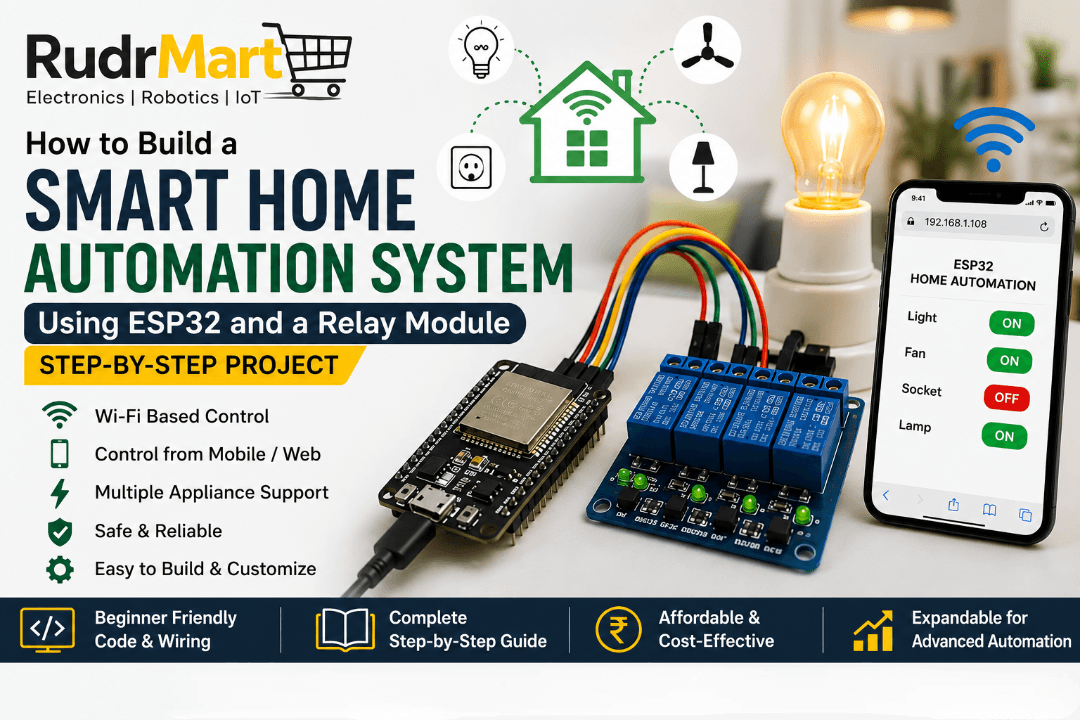
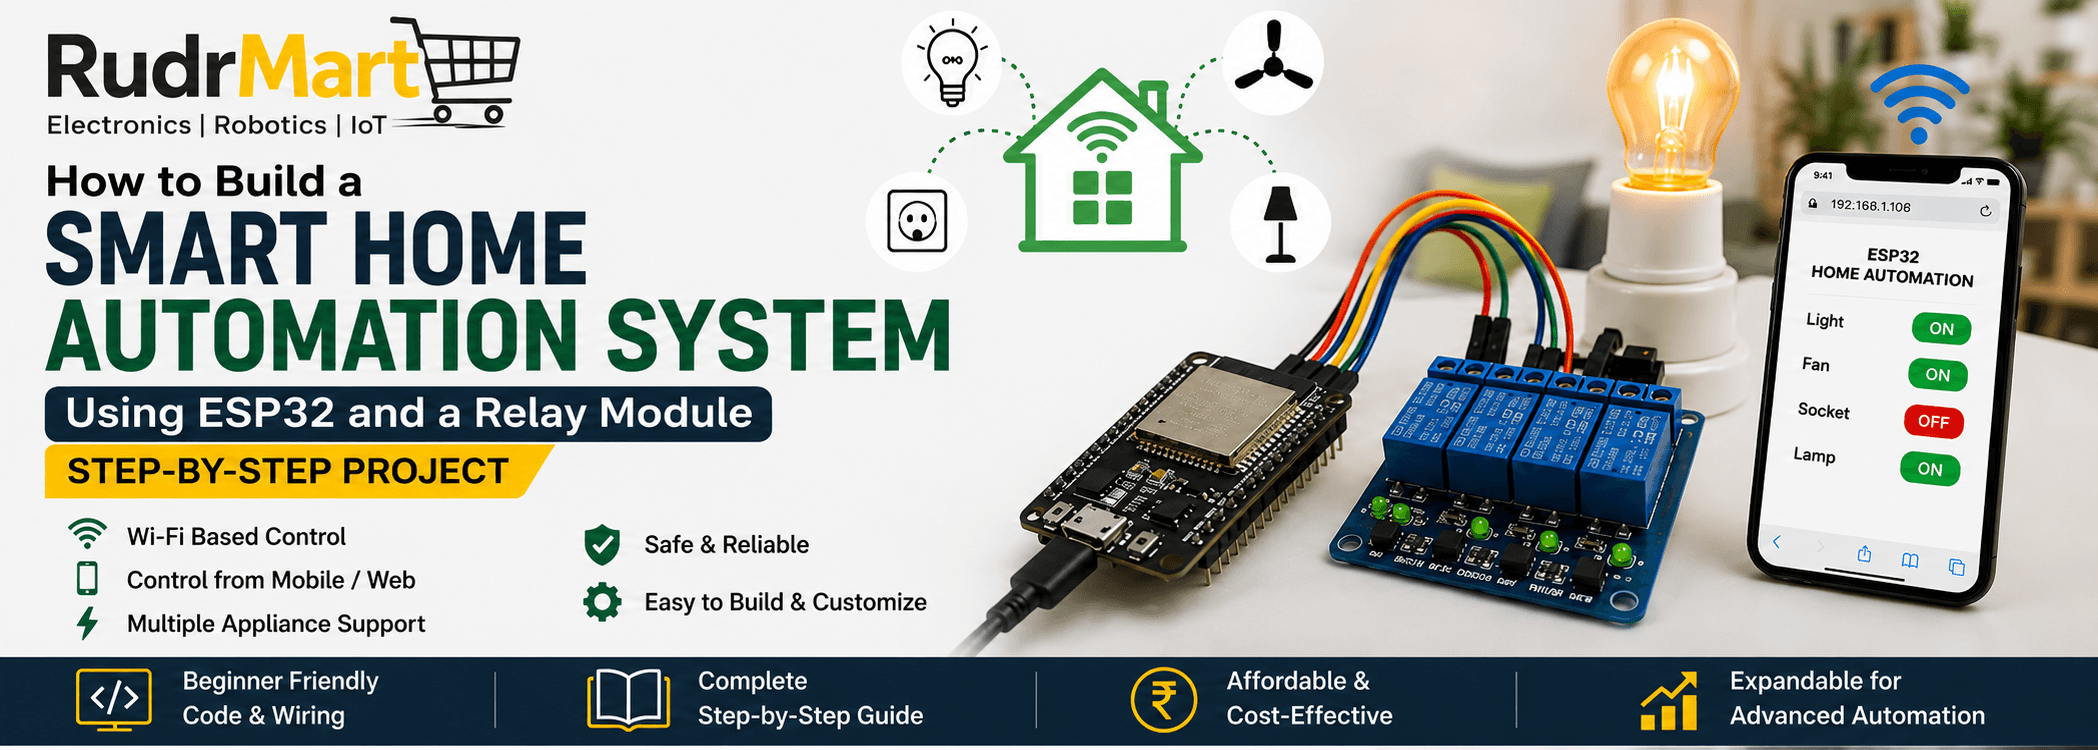
How to Build a Smart Home Automation System Using ESP32 and a Relay Module (Step-by-Step Project)
- Posted on
 Deepak Joshi
- 0
- Categories: ESP32 Projects

Introduction
Home automation is no longer limited to expensive commercial products. Today, anyone with basic electronics knowledge can create a reliable and affordable Smart Home Automation System Using ESP32. The ESP32 offers built-in Wi-Fi, excellent processing power, and compatibility with numerous IoT platforms, making it one of the best microcontrollers for DIY smart home projects.
In this guide, you will learn how to control electrical appliances such as lights, fans, and sockets through Wi-Fi using an ESP32 development board and a relay module. Furthermore, this project can be expanded later with voice assistants like Alexa or Google Assistant, mobile apps, and cloud services.
Whether you are a beginner, an engineering student, or an IoT enthusiast, this tutorial will help you build your first smart home project from scratch.
Why Choose ESP32 for Home Automation?
The ESP32 has become the preferred microcontroller for IoT applications because it combines powerful hardware with wireless connectivity.
Some of its major advantages include:
- Built-in Wi-Fi and Bluetooth
- Dual-core 32-bit processor
- Low power consumption
- Multiple GPIO pins
- PWM, ADC, DAC, UART, SPI, and I2C support
- Easy programming using Arduino IDE
- Cost-effective compared to many alternatives
As a result, ESP32 is ideal for smart home automation, industrial monitoring, wireless control systems, and IoT applications.
Project Overview
In this project, you will build a Wi-Fi-controlled home automation system that allows you to switch household appliances ON or OFF using a smartphone or web interface.
The ESP32 receives commands through Wi-Fi and controls a relay module connected to electrical loads.
Features
- Wireless appliance control
- Supports multiple relays
- Real-time switching
- Expandable for mobile apps
- Energy-efficient design
- Easy to customize
Components Required
| Component | Quantity |
|---|---|
| ESP32 Development Board | 1 |
| 4-Channel Relay Module (5V) | 1 |
| Jumper Wires | As required |
| Breadboard | 1 |
| USB Cable | 1 |
| Power Supply | 5V |
| Light Bulb or AC Load | 1 |
| Wi-Fi Network | 1 |
Understanding the Relay Module
A relay acts as an electrically operated switch. Since ESP32 GPIO pins operate at 3.3V and cannot directly control high-voltage appliances, the relay module serves as an interface between the ESP32 and AC devices.
The relay contains:
- Input pins
- Output terminals
- Normally Open (NO)
- Normally Closed (NC)
- Common (COM)
When the ESP32 sends a signal to the relay input, the relay switches the connected appliance ON or OFF.
ESP32 Relay Wiring Diagram
ESP32 Connections
| ESP32 Pin | Relay Module |
|---|---|
| VIN | VCC |
| GND | GND |
| GPIO 23 | IN1 |
| GPIO 22 | IN2 |
| GPIO 21 | IN3 |
| GPIO 19 | IN4 |
AC Appliance Connection
Relay Terminal
- COM → Live Wire Input
- NO → Live Wire Output to Appliance
- Neutral → Direct to Appliance
Warning: Always switch off the main power supply before working with AC voltage. If you are unfamiliar with electrical wiring, seek assistance from a qualified electrician.
Software Required
Install the following software before starting:
Arduino IDE
Install the Arduino IDE before starting this project. You can download the latest version from the official Arduino website: https://www.arduino.cc/en/software
After installing the IDE, install the ESP32 board package to begin programming your development board.
ESP32 Program
This project uses the Arduino framework for ESP32. If you haven’t installed ESP32 board support yet, follow the official ESP32 Arduino Core installation guide available on GitHub: https://github.com/espressif/arduino-esp32
To learn more about the ESP32 architecture, peripherals, and programming capabilities, refer to the official Espressif documentation: https://docs.espressif.com/projects/esp-idf/en/latest/esp32/
Required Libraries
</> C++
WiFi.h
WebServer.h
ESP32 Program
Below is a simple example to control one relay.
</> C++
#include <WiFi.h>

const char* ssid = "YOUR_WIFI_NAME";
const char* password = "YOUR_PASSWORD";

WiFiServer server(80);

int relay = 23;

void setup()
{
Serial.begin(115200);

pinMode(relay, OUTPUT);

digitalWrite(relay, HIGH);

WiFi.begin(ssid,password);

while(WiFi.status()!=WL_CONNECTED)
{
delay(500);
Serial.print(".");
}

Serial.println("");
Serial.println(WiFi.localIP());

server.begin();
}

void loop()
{
WiFiClient client = server.available();

if(client)
{
String request = client.readStringUntil('\r');

if(request.indexOf("/ON")!=-1)
{
digitalWrite(relay,LOW);
}

if(request.indexOf("/OFF")!=-1)
{
digitalWrite(relay,HIGH);
}

client.println("HTTP/1.1 200 OK");
client.println("Content-Type:text/html");
client.println();

client.println("<h2>ESP32 Home Automation</h2>");
client.println("<a href=\"/ON\"><button>ON</button></a>");
client.println("<a href=\"/OFF\"><button>OFF</button></a>");

client.stop();
}
}
Uploading the Code
Follow these steps carefully:
- Install Arduino IDE.
- Add ESP32 board support.
- Connect the ESP32 via USB.
- Select the correct COM port.
- Enter your Wi-Fi credentials.
- Upload the program.
- Open the Serial Monitor.
- Copy the IP address displayed.
- Open the IP address in a browser.
- Click the ON or OFF button to control the relay.
How the Project Works
The working principle is straightforward.
- ESP32 connects to the Wi-Fi network.
- It starts a local web server.
- Your browser sends ON or OFF requests.
- ESP32 receives the request.
- GPIO changes its output state.
- Relay activates or deactivates.
- The connected appliance switches accordingly.
Consequently, you can control appliances wirelessly within the same Wi-Fi network.
Advantages of ESP32 Home Automation
There are several benefits to using an ESP32-based automation system.
Affordable
ESP32 boards are inexpensive compared to commercial smart home hubs.
Easy Expansion
You can easily add more relay channels to control additional devices.
Wi-Fi Connectivity
There is no need for additional Wi-Fi modules.
Open Source
Thousands of tutorials, libraries, and community projects are available.
Fast Processing
The dual-core processor ensures quick response times.
Remote Monitoring
By integrating cloud platforms such as MQTT or Blynk, you can control appliances from anywhere.
Possible Upgrades
Once the basic system works, you can enhance it with advanced features.
Mobile App Control
Integrate Blynk or ESP RainMaker for smartphone control.
Voice Assistant
Connect with Alexa or Google Assistant.
Scheduling
Automatically switch appliances ON or OFF at specific times.
Energy Monitoring
Add current sensors such as ACS712.
Temperature Automation
Use DHT11 or DHT22 sensors.
Motion Detection
Integrate PIR sensors for automatic lighting.
Security System
Include door sensors and notification alerts.
Applications
This project is useful in numerous real-world situations.
- Home lighting automation
- Fan control
- Water pump automation
- Garden irrigation
- Office automation
- Hostel room automation
- Industrial machine control
- Smart classrooms
- Smart laboratories
Common Problems and Solutions
ESP32 Not Connecting to Wi-Fi
- Verify SSID and password.
- Ensure the router operates on the 2.4 GHz band.
- Restart the ESP32.
Relay Not Switching
- Check the GPIO pin number.
- Verify relay power connections.
- Confirm that the relay is active LOW or active HIGH.
Upload Error
- Install the correct USB drivers.
- Select the appropriate COM port.
- Hold the BOOT button while uploading if necessary.
Web Page Not Opening
- Ensure the ESP32 and your smartphone are connected to the same Wi-Fi network.
- Verify the IP address in the Serial Monitor.
- Disable firewall restrictions if required.
Safety Precautions
Always follow these precautions while working with electrical appliances.
- Never touch exposed AC wiring.
- Disconnect the power before wiring the relay.
- Use insulated connectors.
- Keep children away from the setup.
- Test the circuit with low-voltage loads before connecting AC appliances.
- Use certified relay modules with proper isolation.
Why Buy ESP32 Modules from Rudr Mart?
Choosing high-quality electronic components is essential for reliable IoT projects. At Rudr Mart, we offer genuine ESP32 development boards, relay modules, sensors, connectors, and accessories suitable for students, hobbyists, and industrial developers.
Our products are tested for quality, competitively priced, and shipped across India, making it easy to source everything needed for your smart home automation projects from one place.
Conclusion
Building a Smart Home Automation System Using ESP32 is an excellent way to learn IoT, wireless communication, and embedded systems. With just an ESP32 board, a relay module, and a Wi-Fi connection, you can control home appliances conveniently from your smartphone or browser.
Moreover, this project serves as a solid foundation for advanced home automation solutions involving cloud platforms, mobile apps, voice assistants, and sensor-based automation. As your skills grow, you can continue expanding the system into a fully connected smart home.
If you’re ready to begin your DIY IoT journey, gather the components, upload the code, and start automating your home today.
Frequently Asked Questions (FAQs)
1. Can ESP32 control multiple appliances?
Yes. An ESP32 can control multiple appliances using 2-channel, 4-channel, 8-channel, or 16-channel relay modules.
2. Is ESP32 better than Arduino Uno for home automation?
Yes. ESP32 includes built-in Wi-Fi and Bluetooth, making it far more suitable for IoT and home automation projects than the Arduino Uno.
3. Can I control my home appliances from anywhere?
Yes. By integrating cloud platforms such as MQTT, ESP RainMaker, or Blynk, you can securely control appliances over the internet.
4. Is it safe to connect AC appliances directly to the relay module?
Yes, provided you use a properly rated relay module, follow electrical safety practices, and ensure correct wiring. If you are unsure, consult a qualified electrician.
5. Which relay module works best with ESP32?
A 5V opto-isolated relay module with active LOW inputs is commonly used and offers reliable operation with the ESP32.
Arduino IDEDIY Smart HomeElectronics ProjectsEmbedded SystemsESP32 Development BoardESP32 Home AutomationESP32 ProjectESP32 Relay ModuleESP32 TutorialESP32 Web ServerESP32 WiFi ProjectHome Automation Using ESP32Internet of ThingsIoT DevelopmentIoT ProjectsRelay Module ProjectRidr MartRudr Mart ElectronicsSmart Home Automation System Using ESP32Smart Home DIYWireless Automation
