- Empty cart.
- Continue Shopping
Ultrasonic Sensor (HC-SR04) with Arduino: Obstacle Detection & Distance Measurement Project
- Posted on
 Deepak Joshi
- 0
- Categories: Arduino Projects

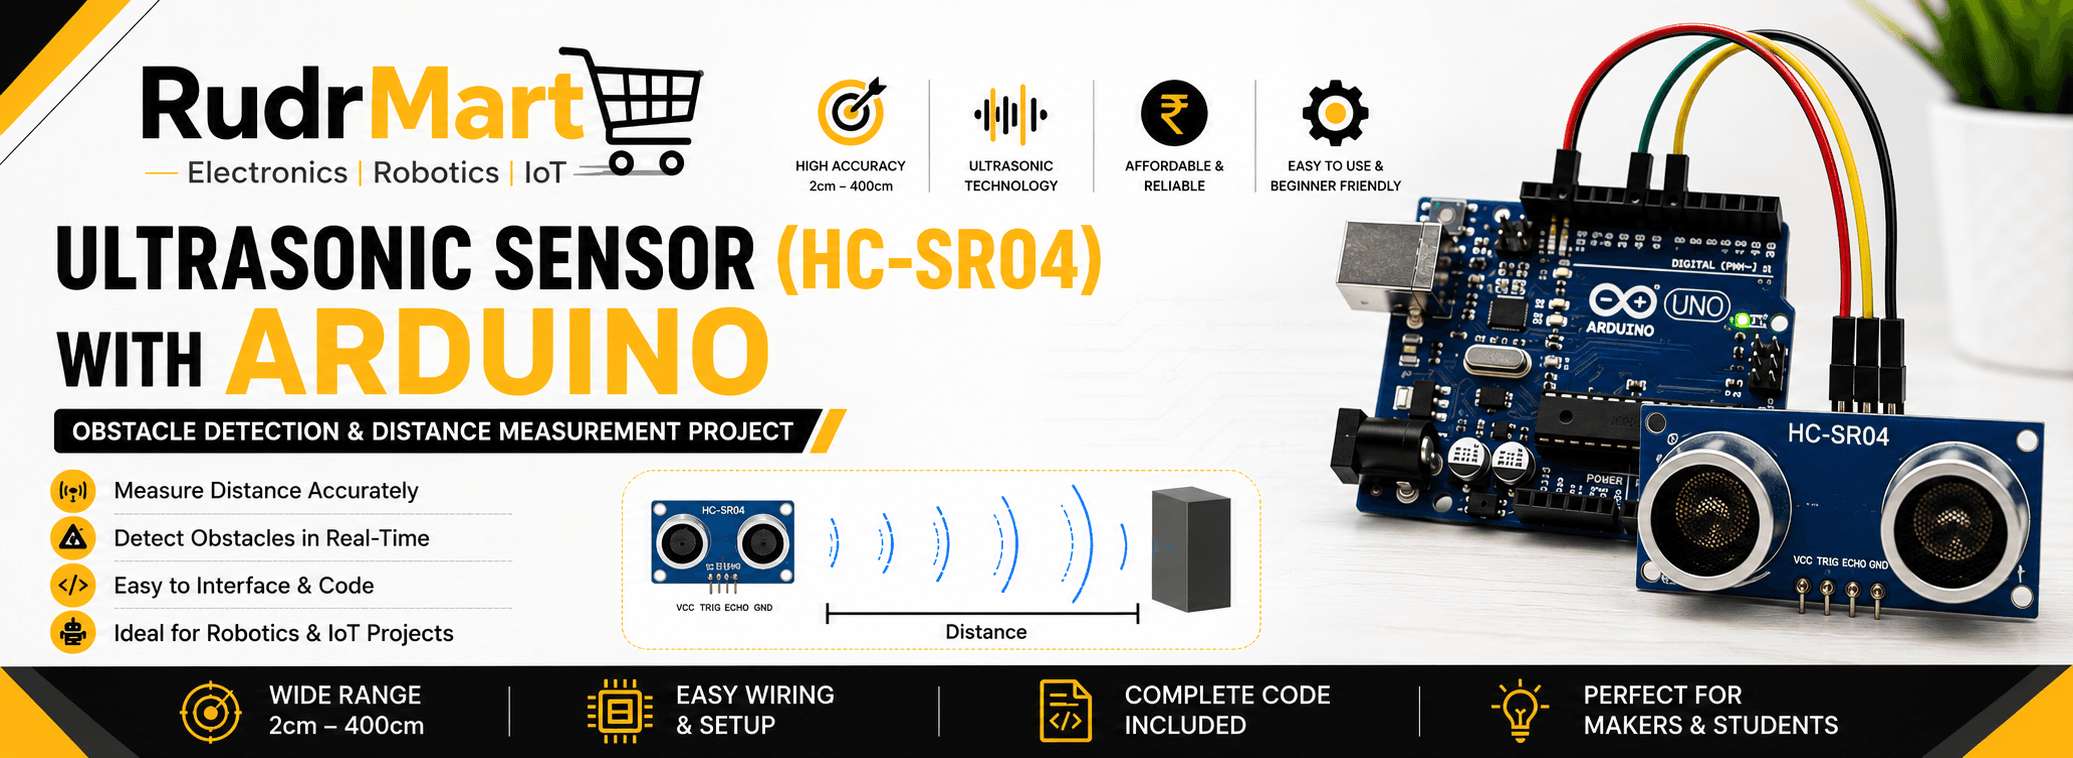
Introduction
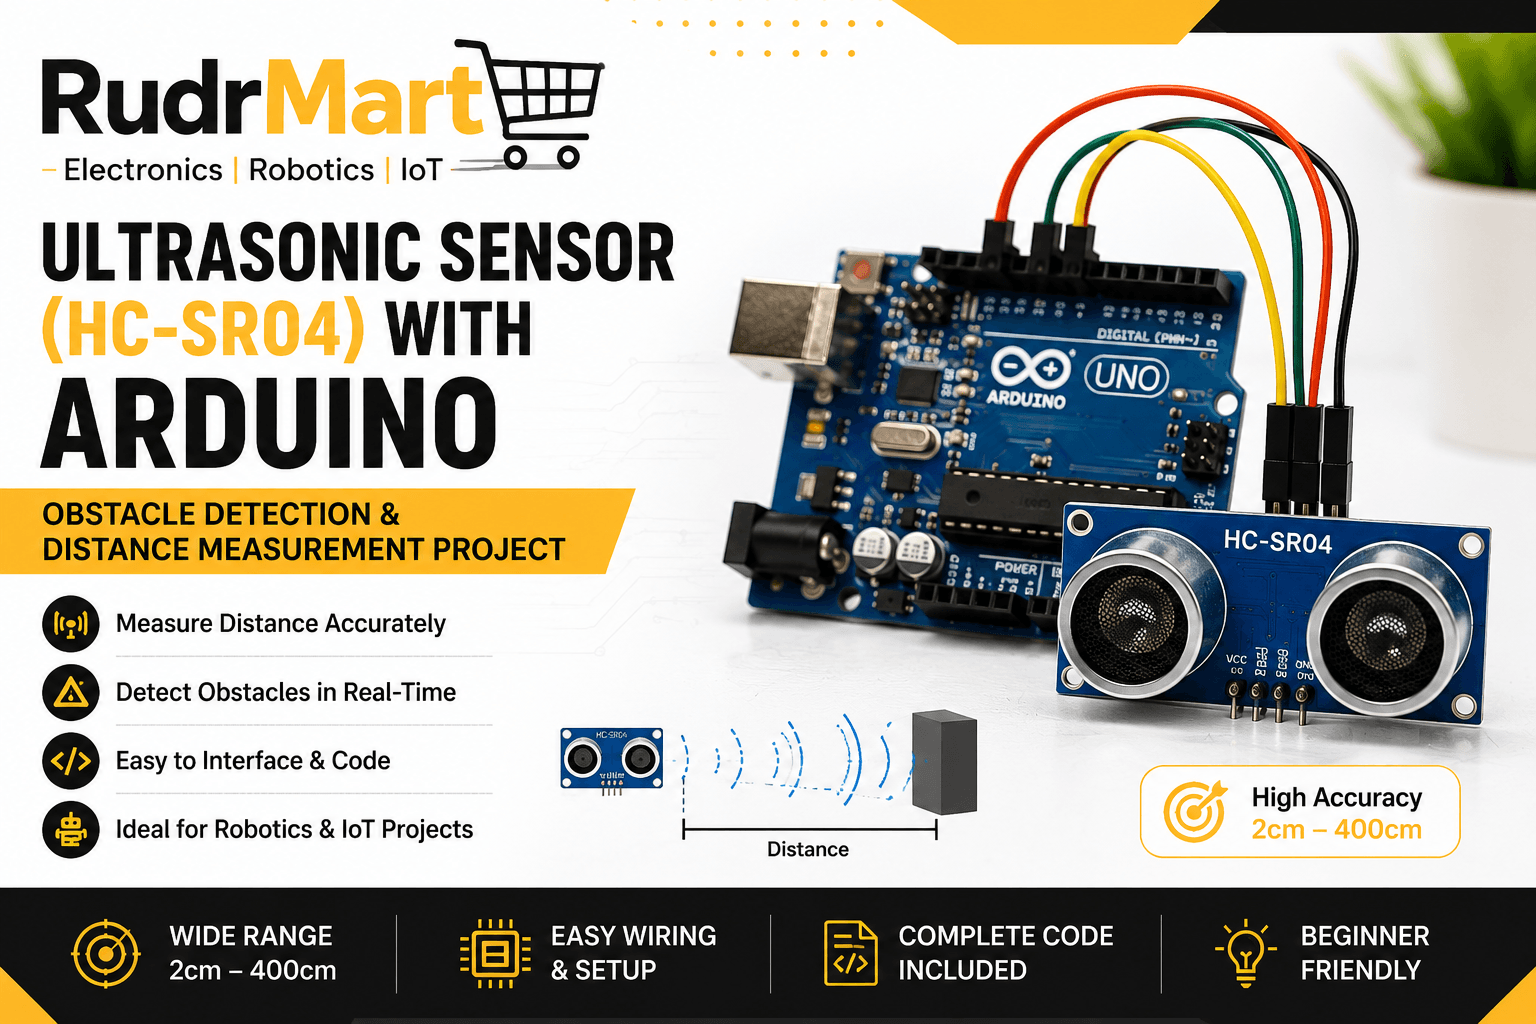
Ultrasonic Sensor HC-SR04 with Arduino is one of the most popular beginner electronics projects for learning distance measurement and obstacle detection. Whether you’re building an obstacle-avoiding robot, a smart parking system, an automatic dustbin, or an IoT project, the HC-SR04 ultrasonic sensor offers an accurate, affordable, and easy-to-use solution. In this comprehensive guide, you’ll learn how to connect the Ultrasonic Sensor HC-SR04 with Arduino, understand its working principle, write the Arduino code, and explore practical applications.
Distance measurement is one of the most common tasks in electronics, robotics, and automation projects. Whether you’re building an obstacle-avoiding robot, an automatic door, a parking assistant, or a smart dustbin, the HC-SR04 Ultrasonic Sensor is one of the most reliable and affordable sensors available.
The HC-SR04 Ultrasonic Sensor measures distance using ultrasonic sound waves instead of infrared light, making it highly accurate and less affected by lighting conditions.
In this tutorial, we’ll learn how to interface the HC-SR04 Ultrasonic Sensor with an Arduino Uno, understand its working principle, create a complete obstacle detection project, and explore real-world applications.
The Ultrasonic Sensor HC-SR04 with Arduino is one of the most popular combinations for learning embedded systems and robotics. Whether you are a beginner or an experienced maker, using the Ultrasonic Sensor HC-SR04 with Arduino allows you to build accurate distance measurement and obstacle detection projects with minimal hardware.
What is Ultrasonic Sensor HC-SR04 with Arduino?
When interfacing the Ultrasonic Sensor HC-SR04 with Arduino, the sensor measures the distance between itself and an object by transmitting ultrasonic waves at 40 kHz. The Arduino calculates the travel time of the reflected signal and converts it into an accurate distance measurement.
The HC-SR04 is a non-contact distance measuring sensor that calculates the distance between the sensor and an object using ultrasonic waves operating at 40 kHz.
It emits an ultrasonic pulse and measures the time taken for the echo to return after hitting an object.
This method provides highly accurate distance measurements without physical contact.
HC-SR04 Features
- Operating Voltage: 5V DC
- Operating Current: 15mA
- Ultrasonic Frequency: 40kHz
- Measuring Range: 2 cm to 400 cm
- Measuring Angle: 15°
- Resolution: Approximately 3mm
- Non-contact distance measurement
- Easy interface with Arduino, ESP32, Raspberry Pi, STM32
- Low power consumption
- Affordable and beginner-friendly
HC-SR04 Pin Configuration
| Pin | Function |
|---|---|
| VCC | 5V Power Supply |
| TRIG | Trigger Input |
| ECHO | Echo Output |
| GND | Ground |
How Does the HC-SR04 Work?
The working principle is very simple.
Step 1
Arduino sends a 10-microsecond HIGH pulse to the TRIG pin.
Step 2
The sensor emits 8 ultrasonic pulses at 40kHz.
Step 3
These waves travel through the air.
Step 4
When they hit an object, they bounce back.
Step 5
The ECHO pin remains HIGH until the reflected signal returns.
Step 6
Arduino measures this duration and calculates the distance.
Distance Formula
Distance is calculated using:
Distance = (Time × Speed of Sound) / 2Where:
- Speed of Sound = 343 m/s
- Time = Echo pulse duration
Arduino simplifies this calculation using:
Distance(cm) = Duration × 0.034 / 2Components Required
| Component | Quantity |
|---|---|
| Arduino Uno | 1 |
| HC-SR04 Ultrasonic Sensor | 1 |
| Breadboard | 1 |
| Jumper Wires | 4 |
| USB Cable | 1 |
Optional:
- Buzzer
- LED
- Servo Motor
- LCD Display
Circuit Connections
| HC-SR04 | Arduino Uno |
|---|---|
| VCC | 5V |
| GND | GND |
| TRIG | Digital Pin 9 |
| ECHO | Digital Pin 10 |
Arduino Code
</> C++
#define trigPin 9
#define echoPin 10

long duration;
int distance;

void setup() {

  pinMode(trigPin, OUTPUT);
  pinMode(echoPin, INPUT);

  Serial.begin(9600);

}

void loop() {

  digitalWrite(trigPin, LOW);
  delayMicroseconds(2);

  digitalWrite(trigPin, HIGH);
  delayMicroseconds(10);

  digitalWrite(trigPin, LOW);

  duration = pulseIn(echoPin, HIGH);

  distance = duration * 0.034 / 2;

  Serial.print("Distance: ");
  Serial.print(distance);
  Serial.println(" cm");

  delay(500);

}
Output
Open the Serial Monitor.
Example output:
Distance: 12 cm

Distance: 25 cm

Distance: 86 cm
As the object moves closer or farther, the distance updates in real time.
Obstacle Detection Project
You can easily build an obstacle detection system by adding an LED or buzzer.
Logic
If:
Distance < 20 cmTurn ON:
- LED
- Buzzer
Otherwise:
Turn OFF both.
This forms the basis of many robotic safety systems.
Applications of HC-SR04 Ultrasonic Sensor
The Ultrasonic Sensor HC-SR04 with Arduino is widely used in educational projects, industrial automation, home automation, and robotics. Because of its affordability and high accuracy, the Ultrasonic Sensor HC-SR04 with Arduino is a preferred choice for students, hobbyists, and engineers developing smart electronic systems.
The HC-SR04 is widely used in:
- Obstacle Avoiding Robots
- Smart Parking Systems
- Water Tank Level Monitoring
- Smart Dustbins
- Automatic Doors
- Security Systems
- Industrial Automation
- Robot Navigation
- Distance Measuring Devices
- Vehicle Reverse Parking Sensors
Advantages
One of the biggest advantages of the Ultrasonic Sensor HC-SR04 with Arduino is its ability to measure distance without physical contact. This makes the Ultrasonic Sensor HC-SR04 with Arduino suitable for applications where precision and reliability are essential.
- Accurate distance measurement
- Non-contact sensing
- Low cost
- Easy programming
- Reliable performance
- Works in darkness
- Good measurement range
- Beginner friendly
Limitations
- Cannot detect very soft surfaces effectively
- Performance may reduce in heavy rain or fog
- Small objects may reflect weak signals
- Not suitable for underwater measurements
- Sensitive to sensor angle
Troubleshooting
No Reading
- Check wiring
- Verify VCC and GND
- Confirm TRIG and ECHO pins
Incorrect Distance
- Remove nearby obstacles
- Check power supply
- Ensure proper sensor alignment
Random Values
- Add a small delay between readings
- Use stable 5V power
- Avoid electrical noise
HC-SR04 vs IR Sensor
| Feature | HC-SR04 | IR Sensor |
|---|---|---|
| Distance Accuracy | High | Medium |
| Lighting Effect | No | Yes |
| Maximum Range | 4 meters | 80 cm (Typical) |
| Object Detection | Excellent | Good |
| Outdoor Performance | Better | Limited |
Project Ideas
- Smart Car Parking System
- Obstacle Avoiding Robot
- Smart Dustbin
- Automatic Water Tank Monitor
- Contactless Hand Sanitizer
- Social Distance Alarm
- Smart Door Bell
- Blind Assistance Device
- Robot Navigation
- Industrial Distance Monitoring
Conclusion
The Ultrasonic Sensor HC-SR04 with Arduino is one of the best combinations for learning embedded systems, robotics, and IoT development. With its simple wiring, accurate distance measurement, and affordable price, it is perfect for beginners as well as advanced makers. By following this guide, you can confidently build obstacle detection systems, smart parking solutions, water level monitors, and many other Arduino-based projects using the Ultrasonic Sensor HC-SR04 with Arduino.
Frequently Asked Questions (FAQs)
1. What is the range of the HC-SR04 Ultrasonic Sensor?
It measures distances from 2 cm to 400 cm with an accuracy of approximately ±3 mm.
2. Can HC-SR04 work with ESP32?
Yes. Since the ESP32 uses 3.3V logic, it’s recommended to use a voltage divider or logic level converter on the ECHO pin.
3. Is HC-SR04 waterproof?
No. For outdoor or wet environments, use waterproof ultrasonic sensors such as the JSN-SR04T.
4. Can it detect transparent objects?
Yes, as long as the surface reflects ultrasonic waves effectively.
5. Why is my sensor showing incorrect readings?
Incorrect wiring, unstable power supply, improper sensor alignment, or highly absorbent surfaces can affect accuracy.
Arduino IDEArduino ProgrammingArduino UnoDistance MeasurementEmbedded SystemsHC-SR04IoTRoboticsRudr MartSensor Module