
- Empty cart.
- Continue Shopping
Relay Module with Arduino: How to Control AC Appliances Safely – Complete Beginner’s Guide
- Posted on
 Deepak Joshi
- 0
- Categories: Arduino & Electronics,Arduino Projects,Microcontroller

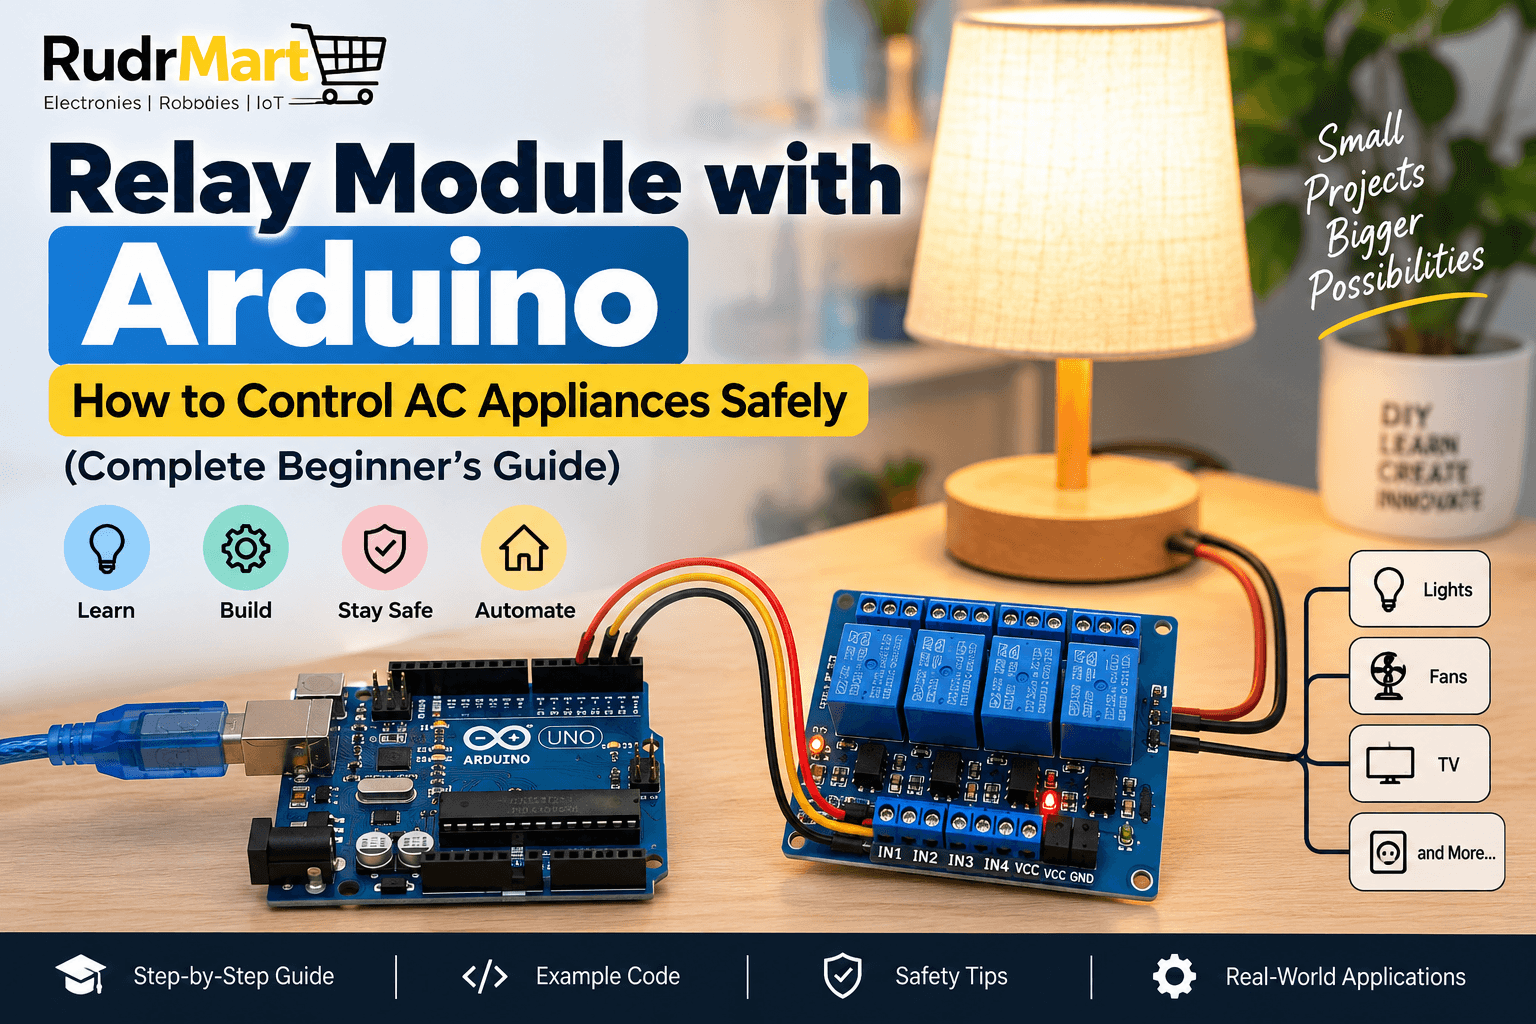
Introduction
Arduino boards are excellent for controlling LEDs, sensors, motors, displays, and other low-voltage electronics. But what if you want your Arduino project to switch a household appliance such as a lamp, fan, or other AC-powered load?
This is where a relay module with Arduino becomes useful.
A relay allows a low-voltage Arduino signal to control a separate electrical circuit. With the right relay module and proper electrical isolation, you can build automation projects where an Arduino decides when an appliance should turn ON or OFF.
However, working with mains AC voltage can cause electric shock, fire, equipment damage, or death if handled incorrectly. Beginners should perform initial experiments only with safe low-voltage loads. Any mains-voltage installation should be designed, wired, enclosed, and checked by a qualified electrician or appropriately trained professional.
In this complete beginner’s guide, we’ll explain how relay modules work, how Arduino controls them, the meaning of COM, NO, and NC terminals, example Arduino code, common applications, troubleshooting, and essential safety precautions.
What Is a Relay Module?
A relay module is an electronic switching board that allows a low-voltage control signal to switch another electrical circuit.
Think of it as an electrically controlled switch.
Instead of physically pressing a switch, a microcontroller such as an Arduino sends a signal to the relay module. The relay then changes the state of its output contacts.
A typical Arduino relay module may contain:
- Electromechanical relay
- Input/control circuitry
- Switching transistor or driver circuit
- Flyback protection
- Status LED
- Screw terminals
- Control pins
- In some designs, optocoupler isolation
Relay modules are commonly available in 1-channel, 2-channel, 4-channel, 8-channel, and higher-channel configurations.
For example, an 8-channel relay module allows a controller to independently switch up to eight separate circuits, subject to the electrical ratings and design of the module.
Arduino also provides official documentation for its 4 Relays Shield, which demonstrates how relays can be used to control loads that cannot be driven directly from Arduino digital I/O.
Why Can’t Arduino Control an AC Appliance Directly?
An Arduino GPIO pin works with low-voltage, low-current electronic signals. It is not designed to directly switch mains-powered appliances.
Connecting an AC appliance directly to an Arduino pin can destroy the board and create a serious electrical hazard.
Instead, the system is divided into two sections:
Control side:
Arduino → Relay module input
Switched-load side:
Separate power circuit → Relay contacts → Load
The Arduino therefore controls the relay’s input rather than supplying power to the appliance itself.
This separation is one of the main reasons relay modules are widely used in automation projects.
How Does a Relay Work?
An electromechanical relay contains a coil and a set of switching contacts.
When the relay coil is activated, an internal electromagnetic mechanism moves the contacts. When the coil is deactivated, the contacts return to their normal state.
Most commonly used relay modules provide three output terminals:
COM – Common
COM stands for Common.
It is the moving/common contact involved in both NO and NC switching arrangements.
NO – Normally Open
NO stands for Normally Open.
When the relay is in its normal, unenergized state, COM and NO are not connected. When the relay operates, COM connects to NO.
This arrangement is commonly chosen when a load should normally remain OFF.
NC – Normally Closed
NC stands for Normally Closed.
When the relay is unenergized, COM and NC are connected. Activating the relay causes that connection to open.
NC is useful when a circuit needs to remain connected during the relay’s normal state.
NO vs NC Relay Contacts
The basic difference is easy to remember:
| Relay State | COM to NO | COM to NC |
|---|---|---|
| Relay OFF / Normal | Open | Closed |
| Relay ON / Energized | Closed | Open |
For many beginner automation projects, COM and NO are used because the connected device should stay OFF until the controller intentionally activates the relay.
Relay Module Pin Configuration
The exact pin arrangement depends on the relay module, so always check the markings and datasheet for your specific product.
A typical module may have:
VCC
Provides the required low-voltage supply to the relay module circuitry.
GND
Ground connection for the control side.
IN / IN1 / IN2…
These are the control inputs.
A single-channel relay may have one input marked IN, while an 8-channel module may have:
IN1
IN2
IN3
IN4
IN5
IN6
IN7
IN8
Each input normally corresponds to one relay channel.
COM, NO and NC
These terminals form the relay’s switched contact side and are electrically different from the Arduino control pins.
How to Connect a Relay Module to Arduino
For learning, start with the low-voltage control side and a safe low-voltage test load.
For example, a basic Arduino-to-relay connection may look like:
| Arduino | Relay Module |
|---|---|
| 5V* | VCC |
| GND | GND |
| Digital Pin 7 | IN |
*Only use a supply arrangement that matches your particular relay module’s specifications. Some modules require different power arrangements or more current than should be taken from the Arduino board.
If you have a multi-channel module, additional Arduino digital pins can be connected to IN2, IN3, and so on.
If you’re new to Arduino programming and digital pins, you can also refer to the official Arduino Language Reference to understand pinMode(), digitalWrite(), and other basic functions used in this project.
Basic Arduino Relay Code
Here is a simple Arduino sketch that switches a relay ON and OFF at regular intervals:
const int relayPin = 7;

void setup() {
  pinMode(relayPin, OUTPUT);

  // Set the initial state according to your relay module's trigger logic
  digitalWrite(relayPin, HIGH);
}

void loop() {
  digitalWrite(relayPin, LOW);
  delay(5000);

  digitalWrite(relayPin, HIGH);
  delay(5000);
}
Important: Active LOW vs Active HIGH
Not every relay module uses the same input logic.
Many commonly available modules are active LOW, which means:
digitalWrite(relayPin, LOW);activates the relay, while:
digitalWrite(relayPin, HIGH);deactivates it.
Other modules can be active HIGH.
Therefore, don’t assume that HIGH always means ON. Check your module’s documentation before building your project.
Testing the Relay Before Connecting Any Load
Before attempting to control an appliance, test the Arduino and relay module by themselves.
Upload the example program and observe the relay.
You may notice:
- The relay’s indicator LED changes state.
- An electromechanical relay produces a clicking sound.
- The relay changes state every five seconds.
This confirms that the Arduino is communicating with the relay module.
For further testing, use a safe low-voltage circuit and a multimeter where appropriate.
Do not begin experimenting with exposed mains wiring simply because the control-side test works.
Controlling an AC Appliance with Arduino and a Relay
Conceptually, the system works like this:
Arduino → Relay Control Input → Relay Switching Contacts → AC Load Circuit
The Arduino determines when the relay changes state, while the relay contacts switch the separate load circuit.
However, mains AC is substantially more dangerous than Arduino-level electronics.
If your project involves 230V AC mains, do not use an exposed breadboard-style setup. The mains-side circuit requires appropriately rated components, insulation, clearances, protection, earthing where applicable, strain relief, and a proper enclosure.
For a permanent installation, have the mains side wired and verified by a qualified electrician.
Critical Safety Precautions When Using Relays with AC Appliances
This is the most important section of this guide.
1. Never Handle Live AC Wiring
Always isolate and disconnect mains power before working on a circuit.
Never touch terminals or conductors while they are energized.
2. Check the Relay’s Electrical Ratings
Every relay has maximum switching ratings.
The printed voltage/current value is not permission to use the relay with every load below that current. Load type matters.
A resistive lamp, motor, pump, transformer, compressor, and other inductive loads can behave very differently during switching.
Inrush and inductive currents can be much higher than normal operating current.
3. Don’t Exceed the Relay Contact Rating
Operating beyond the contact rating can lead to:
- Contact overheating
- Contact welding
- Relay failure
- Damaged wiring
- Fire risk
Choose the switching device based on the actual electrical characteristics of the load, not simply its normal wattage.
4. Use a Proper Electrical Enclosure
Never leave mains-voltage terminals exposed.
A finished project should use a suitable insulated or appropriately grounded enclosure that prevents accidental contact with live parts.
5. Keep Low-Voltage and Mains Sections Separated
Maintain proper physical separation between Arduino/control wiring and mains-voltage wiring.
Do not run exposed AC conductors through the same breadboard area as Arduino jumper wires.
6. Use Proper Protection
Depending on the project, correctly selected protection may include fuses, circuit breakers, earthing, surge suppression, snubbers, contactors, or other protective devices.
Selection should be based on the load and electrical installation requirements.
7. Be Extra Careful With Motors and Inductive Loads
Motors, pumps, solenoids, transformers, compressors, and similar loads may generate high starting currents and switching transients.
A small PCB relay that appears suitable based only on its printed current rating may not be appropriate for these loads.
For higher-power equipment, an appropriately rated contactor or other switching solution may be required.
Arduino Relay Project Ideas
Once you understand relay control, you can combine it with different sensors and communication modules to build useful automation projects.
Automatic Light Controller
Combine:
LDR Sensor → Arduino → Relay → Lighting circuit
The Arduino can detect ambient light and decide when the relay should operate.
Temperature-Based Fan Control
Combine:
Temperature Sensor → Arduino → Relay → Fan control
The Arduino monitors temperature and switches the output according to a programmed threshold.
Water-Level Automation
A suitable water-level sensor can provide information to the Arduino, which can then control an appropriately designed pump-control system.
For mains pumps, use properly rated industrial switching and electrical protection rather than assuming a small hobby relay is sufficient.
Smart Home Automation
Relay modules can form part of systems involving:
- Arduino
- ESP8266
- ESP32
- Sensors
- Wi-Fi
- Bluetooth
- IoT platforms
This allows developers to create remote-control and automatic switching systems.
Timer-Based Automation
Arduino can switch a relay according to programmed timing logic.
This can be useful for lighting, laboratory projects, demonstration models, and automation prototypes.
Using an 8-Channel Relay Module with Arduino
When several circuits need independent switching, an 8-channel relay module can be useful.
For example:
| Arduino Pin | Relay Channel |
|---|---|
| D2 | IN1 |
| D3 | IN2 |
| D4 | IN3 |
| D5 | IN4 |
| D6 | IN5 |
| D7 | IN6 |
| D8 | IN7 |
| D9 | IN8 |
This allows the Arduino to control each relay independently.
However, multiple relay coils may require more current than an Arduino board should supply directly. Follow the relay module manufacturer’s power requirements and use an appropriate external supply when required.
Example Arduino Code for Multiple Relays
const int relay1 = 2;
const int relay2 = 3;
const int relay3 = 4;
const int relay4 = 5;

void setup() {
  pinMode(relay1, OUTPUT);
  pinMode(relay2, OUTPUT);
  pinMode(relay3, OUTPUT);
  pinMode(relay4, OUTPUT);

  digitalWrite(relay1, HIGH);
  digitalWrite(relay2, HIGH);
  digitalWrite(relay3, HIGH);
  digitalWrite(relay4, HIGH);
}

void loop() {
  digitalWrite(relay1, LOW);
  delay(1000);

  digitalWrite(relay1, HIGH);
  digitalWrite(relay2, LOW);
  delay(1000);

  digitalWrite(relay2, HIGH);
  digitalWrite(relay3, LOW);
  delay(1000);

  digitalWrite(relay3, HIGH);
  digitalWrite(relay4, LOW);
  delay(1000);

  digitalWrite(relay4, HIGH);
  delay(1000);
}
This example assumes an active-LOW relay module. Modify the HIGH/LOW logic if your module works differently.
Common Problems When Using Relay Modules with Arduino
Relay Is Not Clicking
Possible causes include:
- Incorrect VCC connection
- Missing ground connection
- Wrong Arduino pin
- Incorrect program logic
- Insufficient power supply
- Defective relay/module
First verify the control-side voltage and wiring.
Relay LED Turns ON but Relay Doesn’t Switch
The control circuitry may be receiving a signal while the relay coil is not receiving sufficient power.
Check the module’s required operating voltage and power arrangement.
Relay Works in Reverse
This is often normal.
You may be using an active-LOW relay module.
Instead of assuming:
HIGH = ON
LOW = OFF
your module may operate as:
LOW = ON
HIGH = OFF
Adjust the program accordingly.
Arduino Resets When Relay Operates
Possible reasons include:
- Power-supply voltage drop
- Electrical noise
- Insufficient power capacity
- Poor grounding
- Improper relay driving
- Switching transients from the connected equipment
Review the power design and relay module specifications rather than trying to solve the problem only through software.
Relay Makes a Repeated Clicking Sound
Rapid or unstable clicking can indicate:
- Unstable input signal
- Insufficient supply voltage
- Loose connection
- Incorrect sensor logic
- Software rapidly changing the relay state
Check the control signal and power supply first.
Relay Module vs Transistor: Which Should You Use?
A transistor and relay perform different roles.
A transistor or MOSFET is often a better choice for switching suitable low-voltage DC loads because it can provide fast, silent electronic switching.
An electromechanical relay is useful when you need isolated mechanical contacts capable of switching a separate circuit within the relay’s specified ratings.
Therefore, don’t automatically use a relay for every Arduino project.
For LEDs, small DC motors, solenoids, and other DC electronics, a properly selected transistor or MOSFET may be more appropriate.
Relay Module vs Solid-State Relay
Another alternative is a Solid-State Relay (SSR).
Unlike a traditional electromechanical relay, an SSR has no mechanical switching contacts.
Electromechanical Relay
Advantages:
- Simple to understand
- Physical contact isolation
- Can switch different circuit types when correctly rated
- Common and economical
Limitations:
- Mechanical wear
- Audible clicking
- Limited switching speed
- Contact arcing can occur
Solid-State Relay
Advantages:
- Silent operation
- No mechanical contacts
- Fast switching
- Long switching life when correctly selected and operated
Limitations:
- Leakage current can exist
- Generates heat
- May require a heatsink
- AC and DC SSRs are not interchangeable
- Correct sizing is essential
Choose the switching technology according to your application rather than simply selecting whichever has the highest printed current rating.
How to Choose the Right Relay Module for Arduino
Before buying a relay module, check the following specifications:
1. Coil / Module Operating Voltage
Ensure that the relay module’s control-side voltage is compatible with your system.
2. Logic Compatibility
Check whether the module accepts the logic level provided by your Arduino, ESP8266, ESP32, or other controller.
3. Number of Channels
Choose according to the number of circuits you need to control.
Common options include:
- 1-channel
- 2-channel
- 4-channel
- 8-channel
4. Contact Rating
Check the manufacturer’s contact ratings for the voltage and type of load you intend to switch.
5. Isolation
For projects where isolation is important, examine whether the module includes an optocoupler and, importantly, how the module is actually wired. The presence of an optocoupler alone does not guarantee complete system isolation.
6. Load Type
Determine whether your load is:
- Resistive
- Inductive
- Motor-driven
- Capacitive
- Lighting
- Transformer-based
This can significantly affect the required switching capacity.
Applications of Arduino Relay Modules
Relay modules are widely used in electronics and automation projects, including:
- Home automation
- Smart lighting
- Fan control
- Temperature-controlled systems
- Irrigation automation
- Water-level systems
- Laboratory projects
- IoT prototypes
- Alarm systems
- Industrial automation prototypes
- Timer-controlled systems
- Educational Arduino projects
Their ability to let a low-voltage controller operate a separate circuit makes relay modules an important component for learning practical automation.
Conclusion
Using a relay module with Arduino is an excellent way to learn how low-voltage electronics can control separate electrical circuits.
The basic concept is straightforward:
Arduino reads information → Arduino makes a decision → Arduino controls the relay → Relay switches the separate load circuit.
Start by learning with LEDs, sensors, and other safe low-voltage loads. Understand COM, NO, NC, active-LOW and active-HIGH logic before moving to more advanced projects.
If your final application involves mains electricity, don’t treat it like an ordinary breadboard project. Use appropriately rated components and electrical protection, place the system inside a proper enclosure, and have mains-voltage wiring completed or checked by a qualified professional.
With those principles in place, relay modules can become a useful building block for Arduino automation, IoT prototypes, smart control systems, and electronics learning projects.
Frequently Asked Questions
1. Can Arduino Control a Relay Module?
Yes. Arduino digital outputs can control compatible relay modules. However, you must verify the module’s voltage, logic, and current requirements.
2. Can Arduino Directly Control a 230V Appliance?
No. Arduino GPIO pins must never be directly connected to a mains-powered appliance.
A properly designed switching and isolation system is required.
3. What Is NO in a Relay?
NO means Normally Open. COM and NO are disconnected while the relay is in its normal state and connect when the relay is energized.
4. What Is NC in a Relay?
NC means Normally Closed. COM and NC are connected in the relay’s normal state and disconnect when the relay operates.
5. What Does COM Mean on a Relay?
COM means Common. It is the common contact that switches between the NC and NO connections.
6. Why Does My Relay Turn ON When Arduino Sends LOW?
Your relay module is probably active LOW. Many Arduino-compatible relay boards use this design.
7. Can I Control Eight Appliances with an 8-Channel Relay Module?
An 8-channel relay module provides eight independently controlled relay channels. Whether each channel is suitable for a particular appliance depends on the relay’s electrical ratings, load type, power system, wiring, and required protection.
8. Can I Use a Relay Module with ESP32?
Potentially, yes, but you must verify logic-level compatibility. ESP32 GPIO operates at 3.3V, and not every 5V relay module reliably accepts a 3.3V control signal.
9. Can I Use a Relay Module with ESP8266?
Yes, with a compatible relay interface. Again, check the module’s trigger voltage, power requirements, and isolation arrangement.
10. Is a Relay Safe for AC Appliances?
A correctly selected relay can form part of a safe AC switching system, but the relay alone does not make a project safe. Component ratings, enclosure, wiring, insulation, circuit protection, earthing, load characteristics, and compliance with applicable electrical standards all matter.
5V Relay Module8 Channel RelayArduinoArduino ProjectsArduino RelayArduino TutorialAutomationDIY ElectronicsElectronics ProjectsHome AutomationIoT ProjectsMicrocontrollerNO NC COMRelay ModuleRelay SwitchRudr Martrudrmart